From dirty and drab to fantasy fun, step by step guide on how to DIY a Montessori inspired playroom for your little to play for years to come

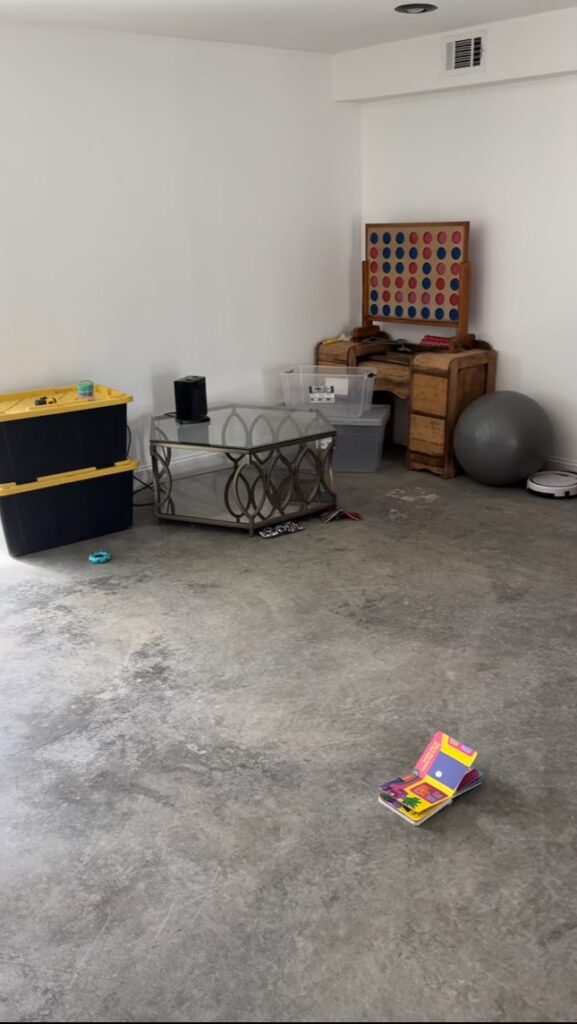
My husband came to me one day with an idea to turn our unfinished room in the basement into a kids playroom. It quickly reveled itself that it was a much needed space for our daughter to roam around freely, without worrying about her getting into areas (and plants) in our house. I’m always looking for a good indoor DIY project to keep me busy during the winter months, and well, here goes nothing!
One of hardest parts was to come up with an aesthetic that made sense not only for my daughter, but for a space we could all enjoy as a family. I wanted a cozy space to inspire her and let her play and create freely. I started dabbling in the Montessori method, and wanted to incorporate some of the simple principles it talks about, specifically a “yes” room.
What’s a Montessori “yes” room?
I’m glad you asked. Without getting too technical, it’s an area that caters to your child’s needs in mind- encompassing beauty, independence, and organization with a less is more approach to the setup. (i.e. a place for everything and everything in its place). The Montessori Toddler is a great read if you’d like to learn more about it. There’s a few fundamental items to consider that makes a playroom Montessori:
- Child sized furniture
- Minimal toys on display within child’s reach (ideally 8-10 items)
- Open space for exploring and play
- A reading nook
- Organization
- Wall decor at child’s eye level
- A climbing gym- great for motor skills and balance!
Declutter and Paint:
First order of business was to clear out the room and fix the drywall patch. It was my first time tackling a drywall repair and it was surprisingly easier than I thought! I will say it’s a messy job, lots of sanding and speckling. Dust was everywhere so I highly recommend wearing a mask. With that came a fresh coat of white paint on all the walls, trim, and baseboard. The bright white gave the room an instant fresh, clean feel.

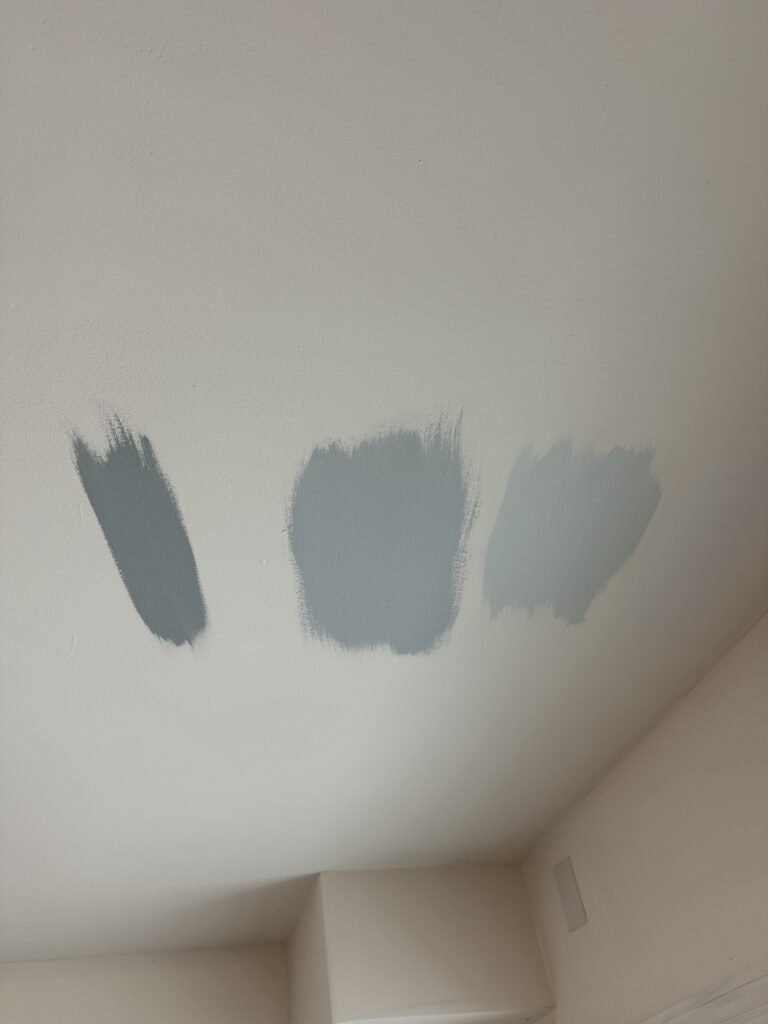
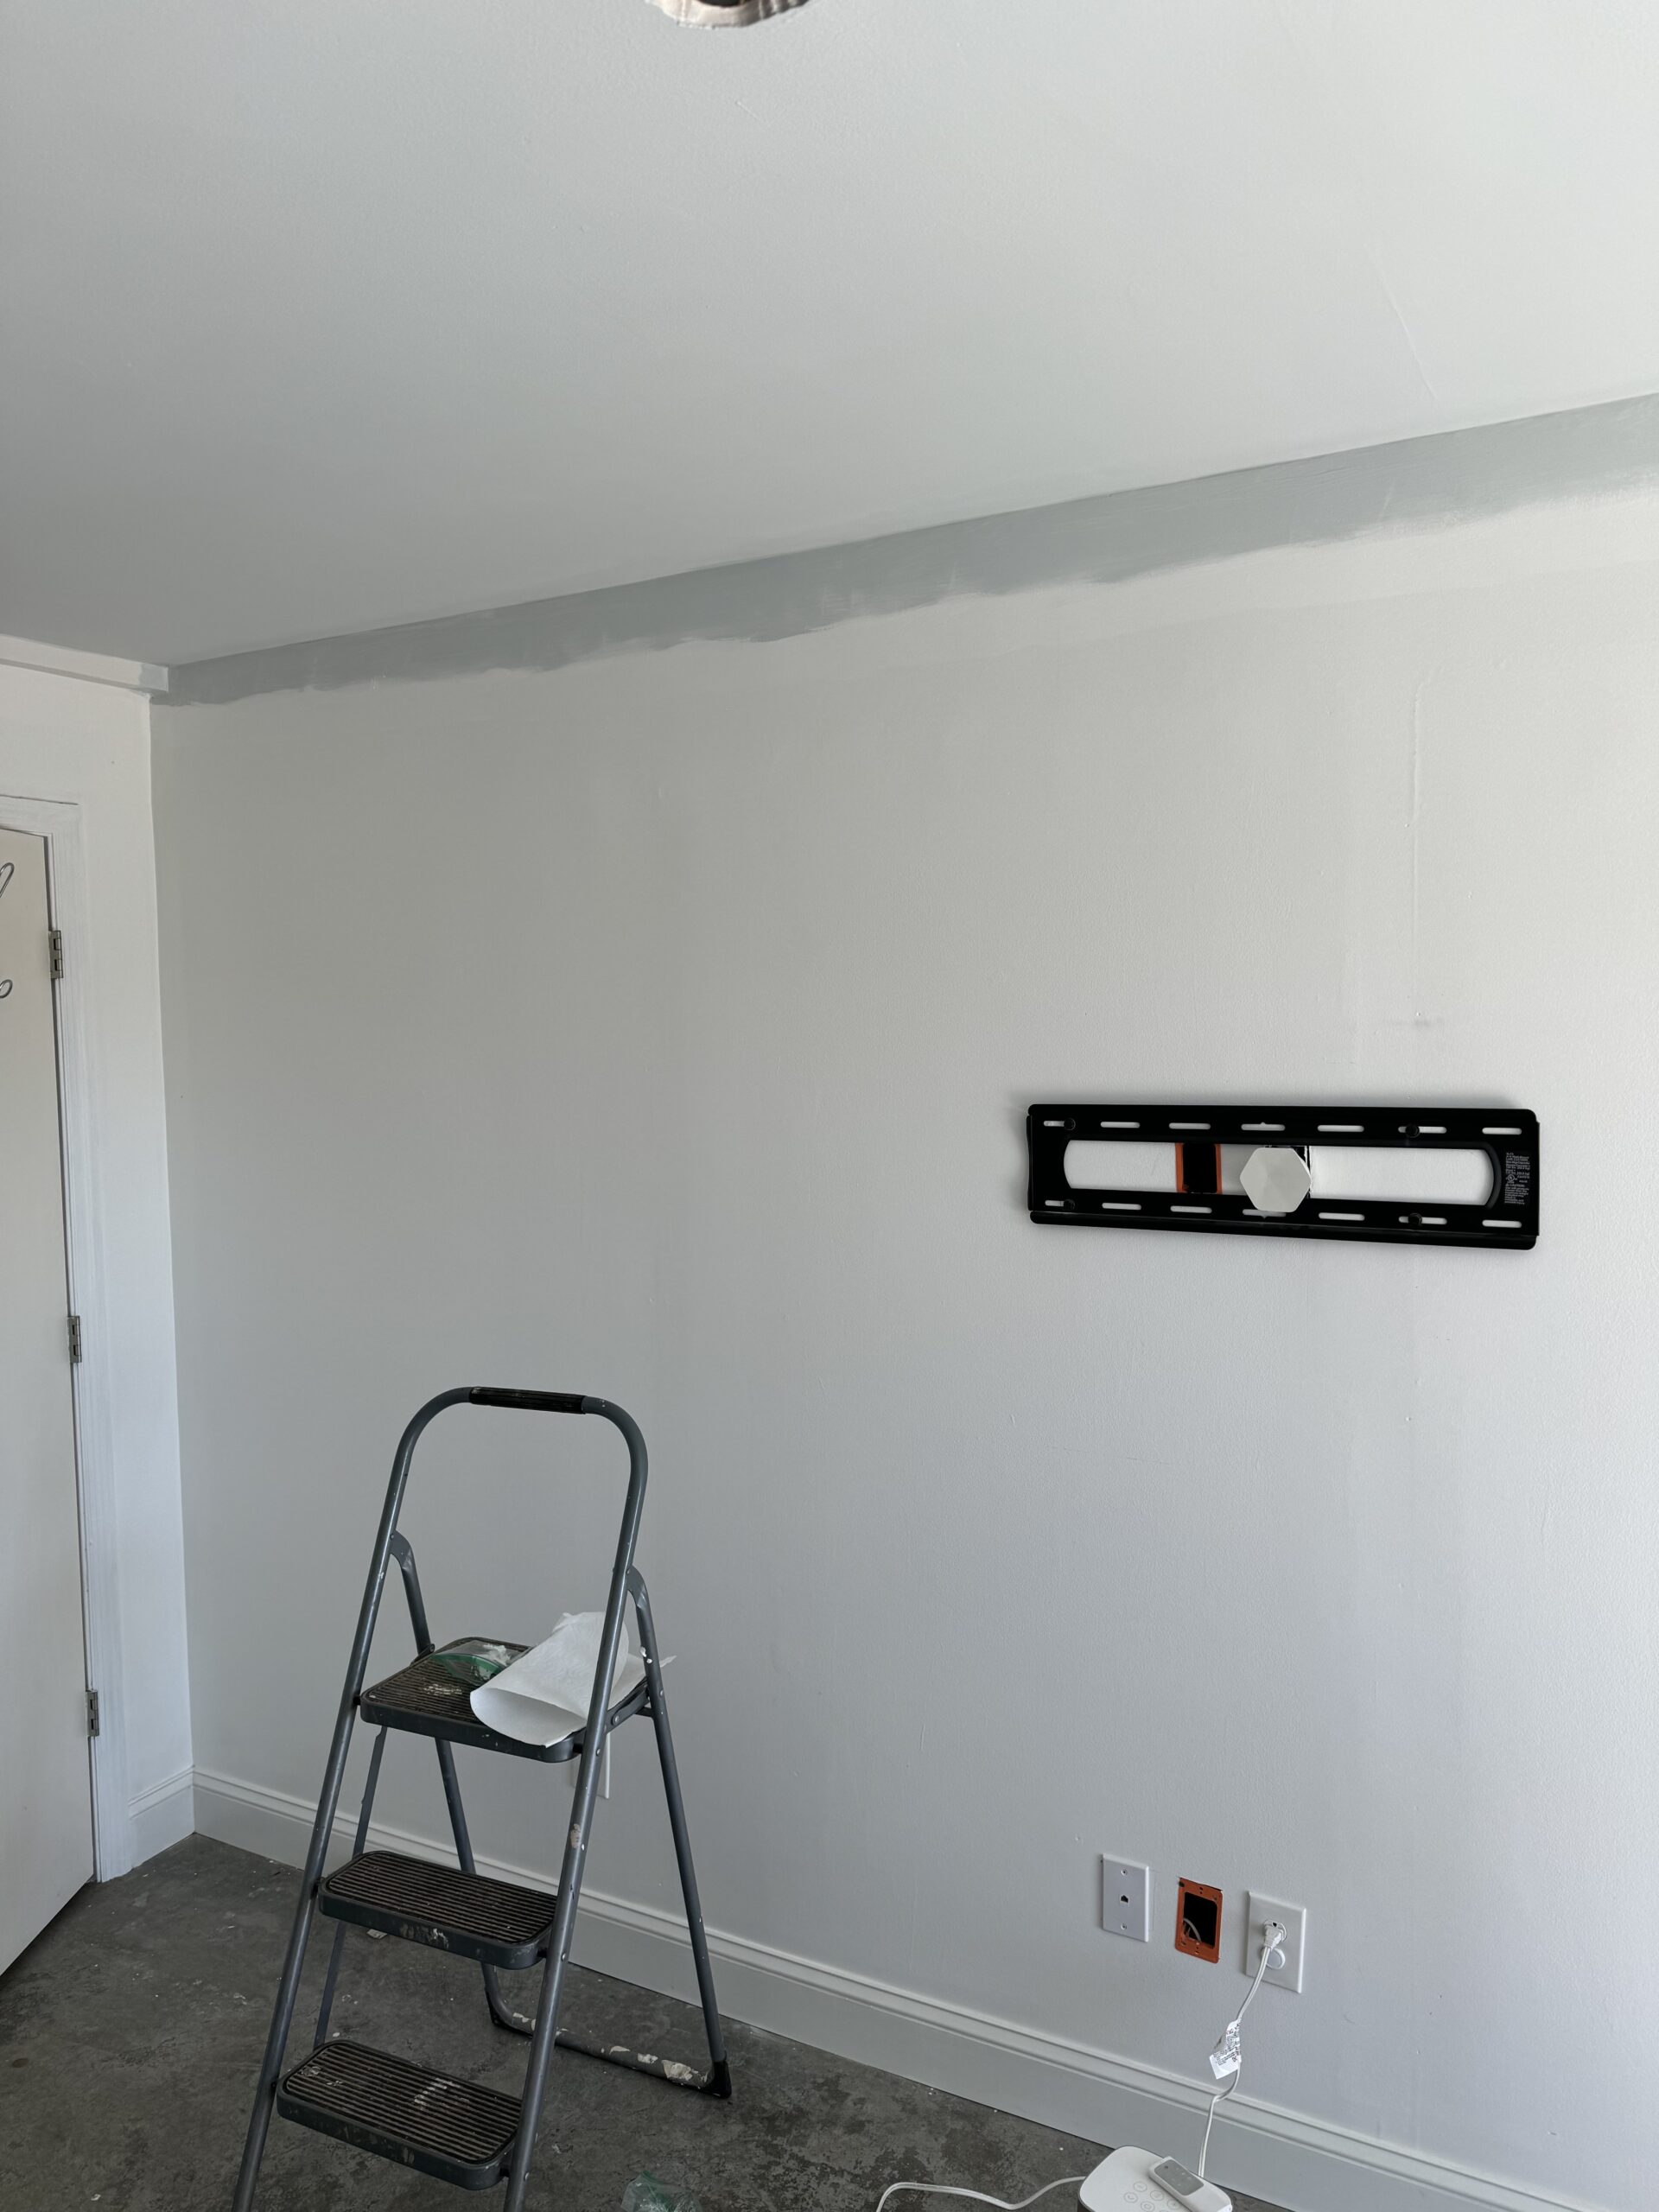
Next was time to paint the ceiling a subtle blue to mimic a sky- later we’ll be adding clouds to make the ceiling pop! I dragged the blue a little further on the walls and with a dry brush- I blended in the blue to create a soft ombre effect, working quickly to keep the paint from drying. Tip: paint a strip of white under the blue to blend the colors effortlessly. I went to my local Home Depot and selected 4 paint samples, and wound up going with the 2nd lightest Behr color in Streetwise


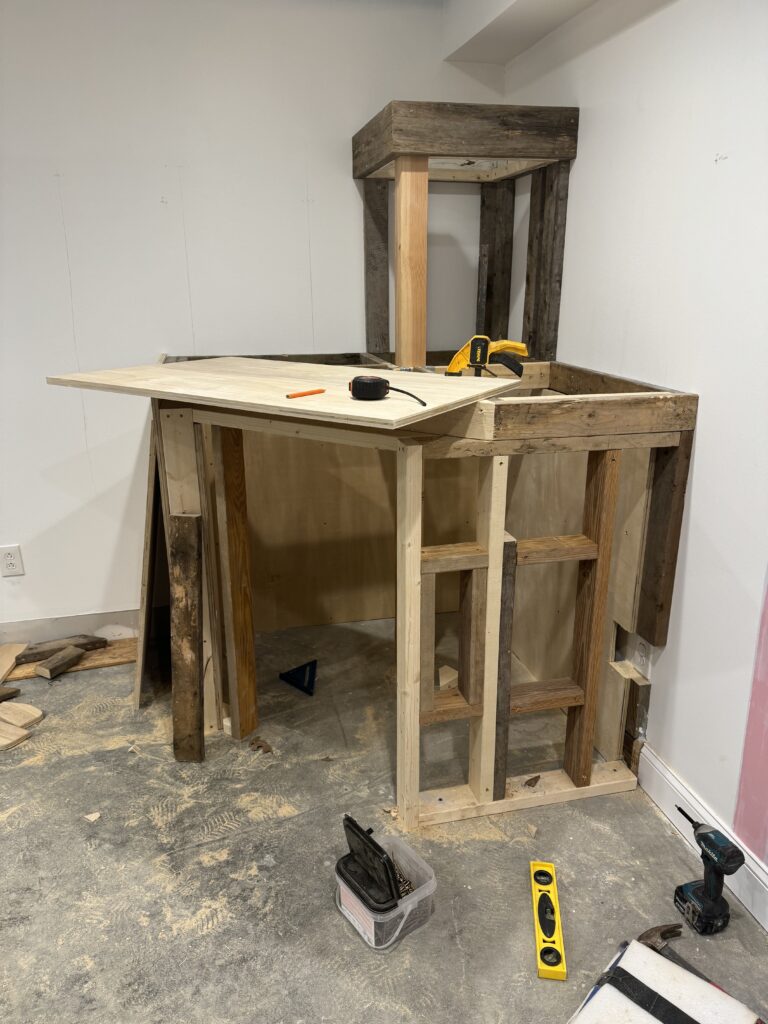
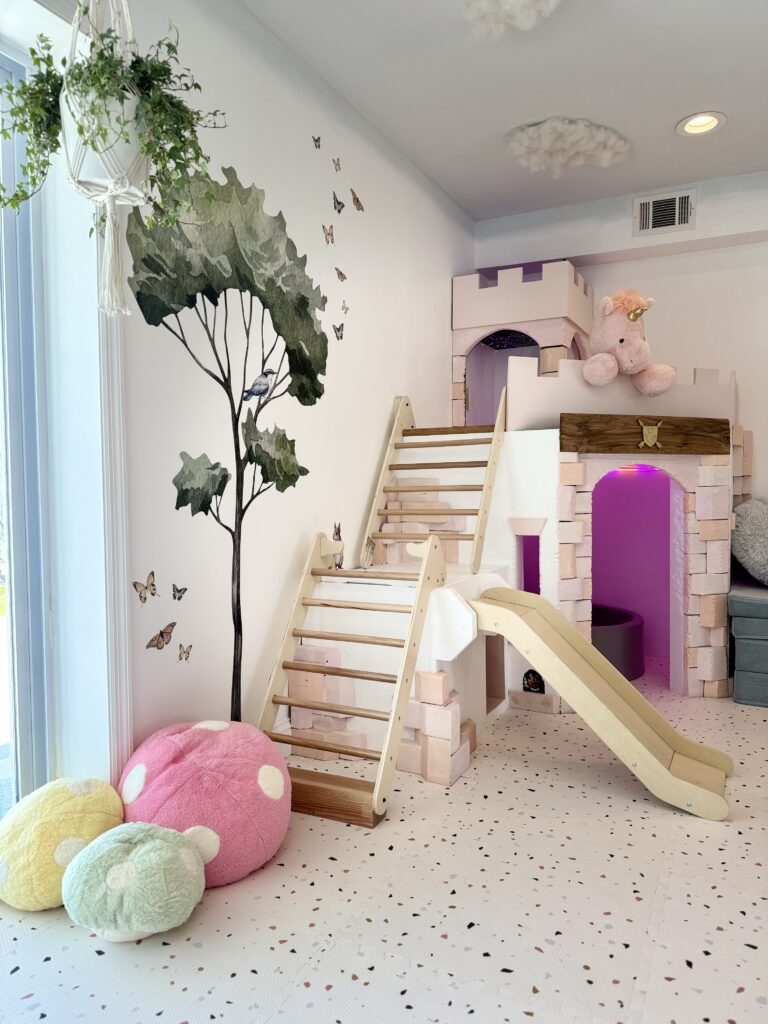
Play Castle
My husband had a great idea to make a play castle. The original idea was actually supposed to be a large life-like tree, but after some thought we pivot to a castle, and that was that!
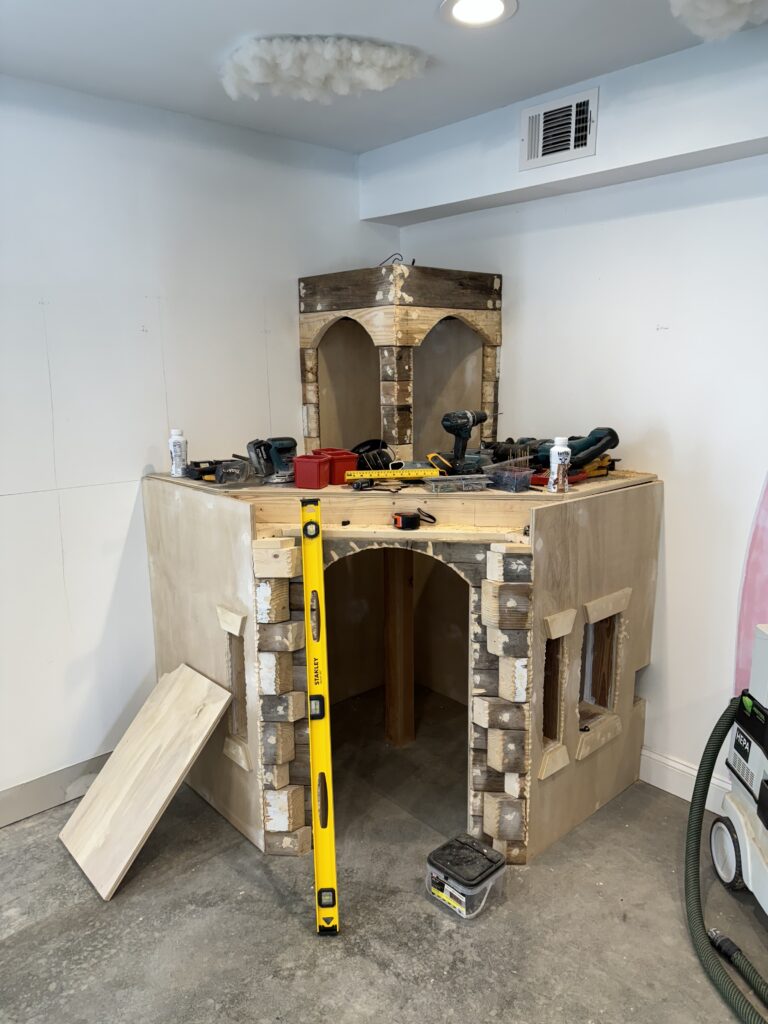
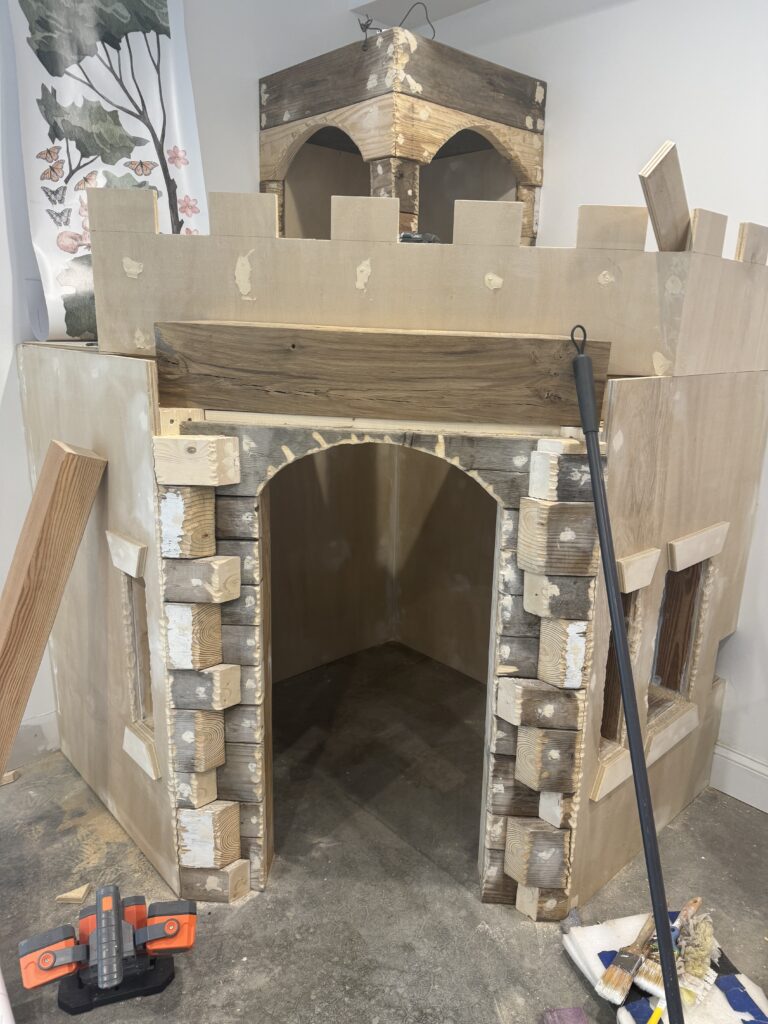
We then added the trim around the windows and top, adding decorative “bricks” to the front. My husband made this beautiful white oak mantle piece to finish it off
Next up lots of wood filler and sanding, and more sanding. Finally getting to the fun part, time for paint! I primed the bricks and castle exterior with the same white paint I used for the walls, adding fun pops of color on the exterior, with soft pastel pinks and oranges. I only needed a little for each so paint samples were the perfect amount.
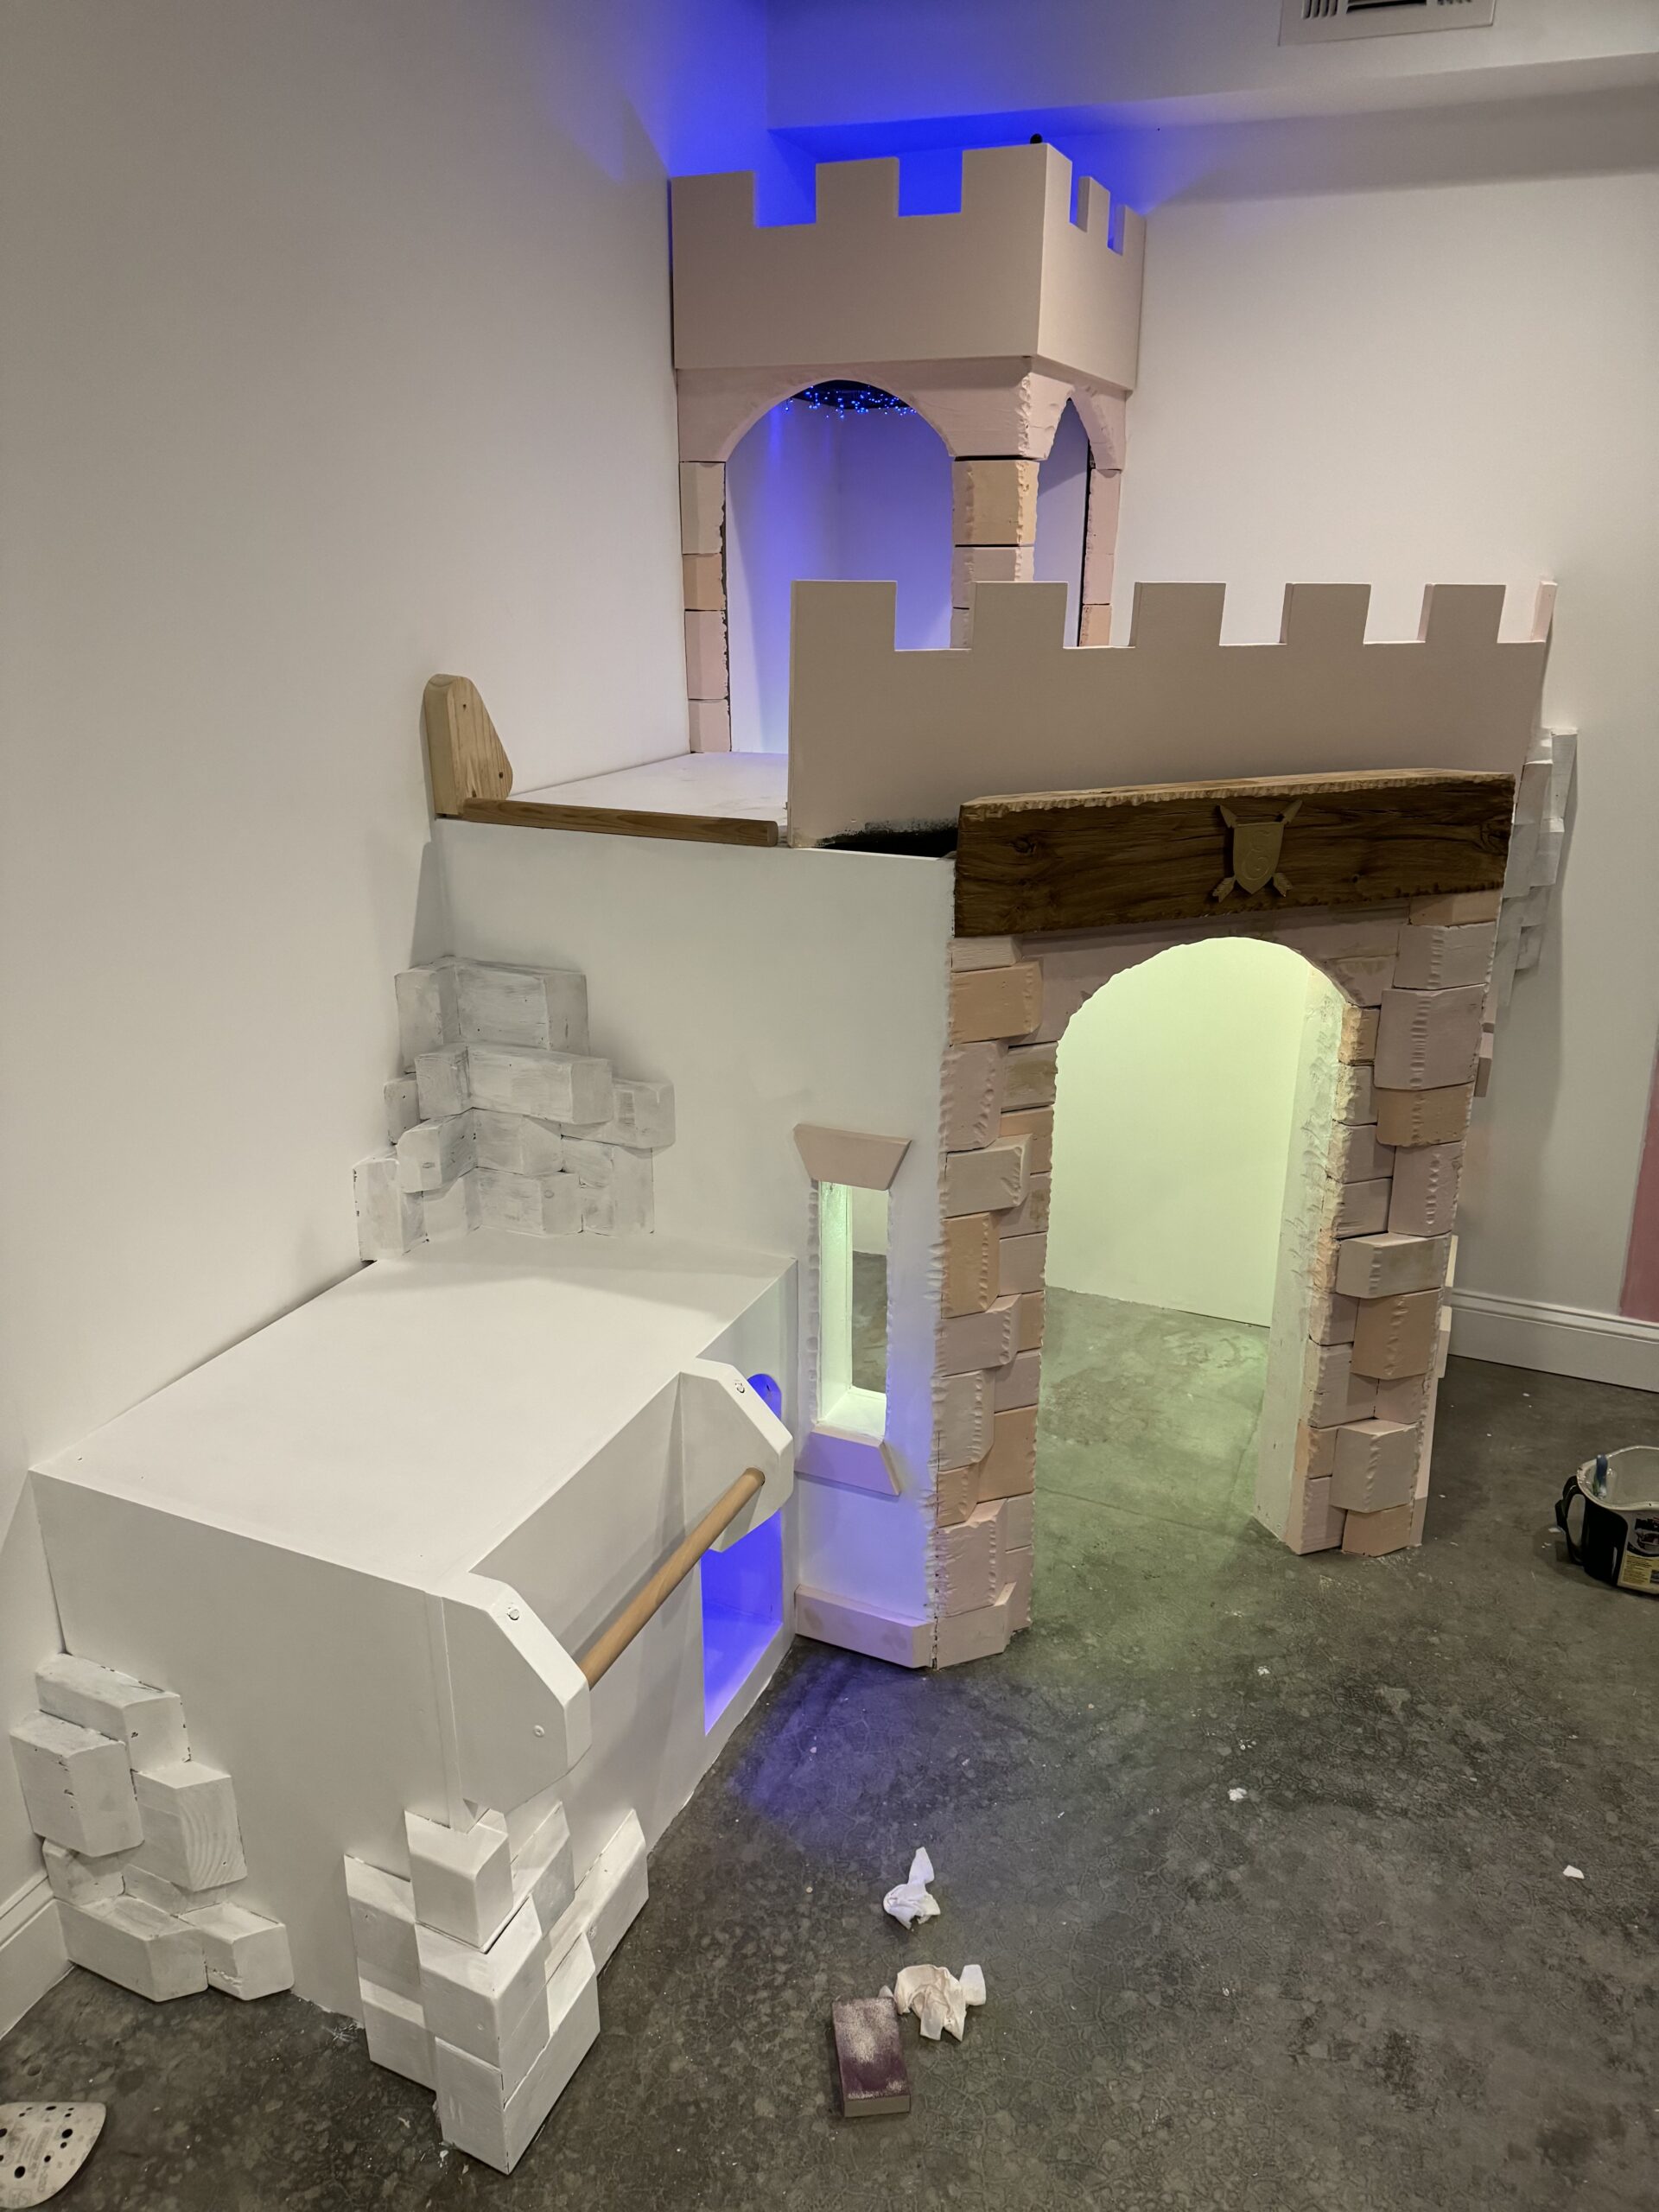
We added a slide and used the climbing triangle as the ladders for the castle. My husband boxed out the side and added a cubby along with LED light rope for the interior and fiber optics in the tower. We added plexiglass glass on the tower openings for safety as well. It really started to look like a castle now!
Paint: Behr Paint in Radiant Rose, Stolen Kiss, and Fruit Salad


Ceiling Clouds
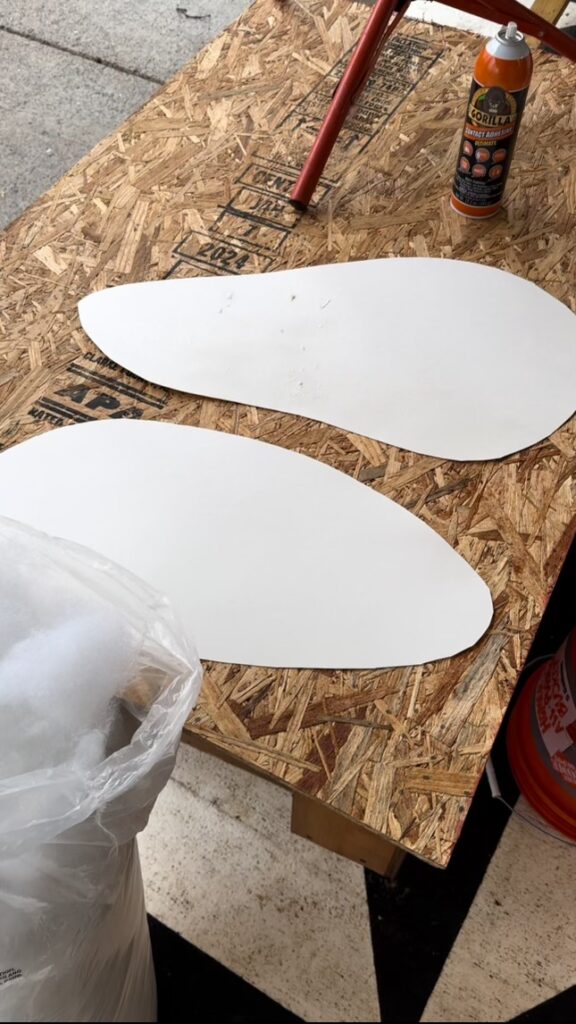
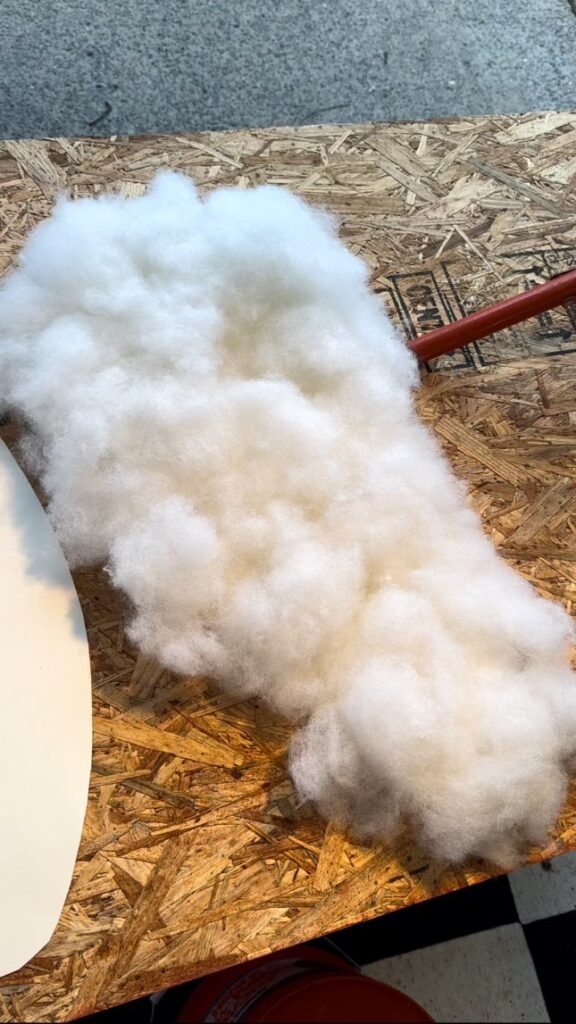
Time for the clouds to come to life. It was such an easy project that makes such a statement in the room, I doubted myself for a minute but it’s one of the first things people notice when they come in, I’m so glad I went with it! You just need 4 items: A bag of Poly-fil, spray adhesive, white poster boards, and heavy duty double sided tape to stick on the ceiling.
I do recommend cutting out the poster board to different shapes before applying the poly fil. I did that for the first one and it was a hot mess trying to cut it with scissors. Spray the poster board in sections with a good amount of adhesive spray- you want it tacky enough to have the poly-fil stick too and it does dry fairly quickly. Definitely moved the project outside after realizing how strong the fumes were.
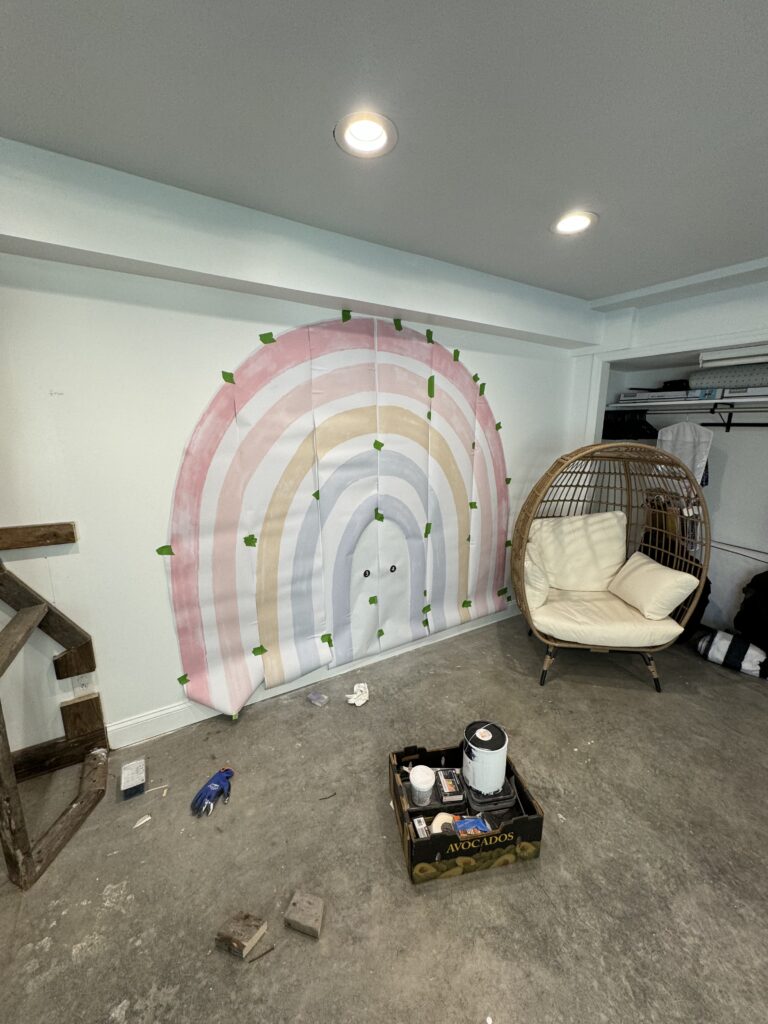
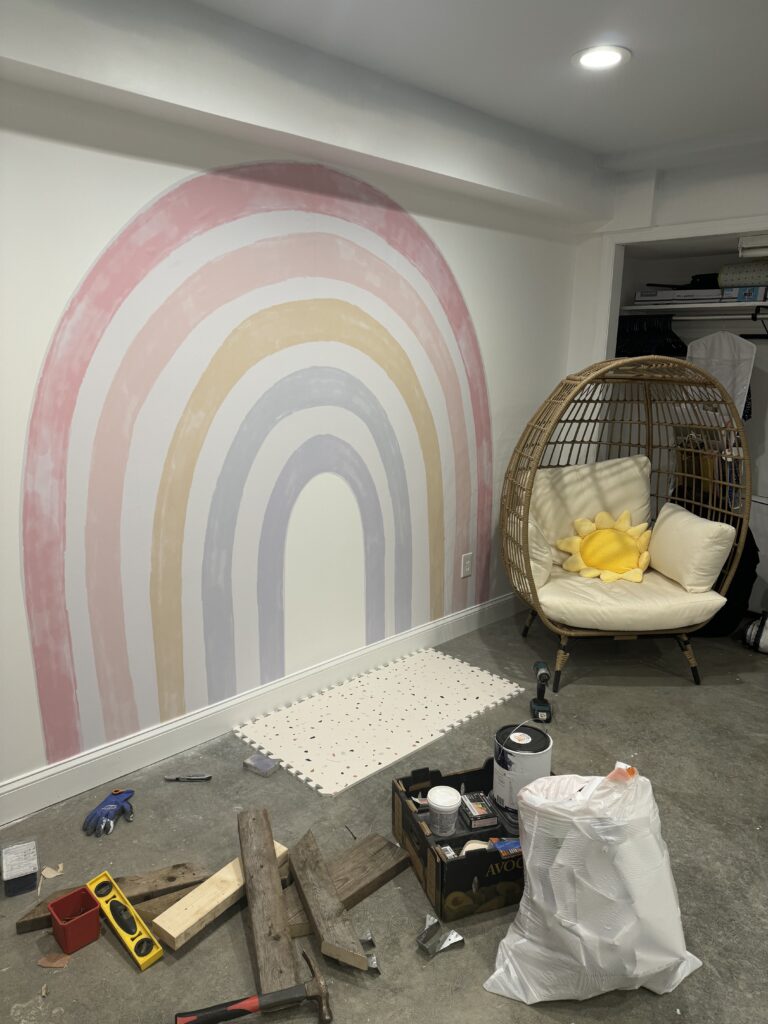
Rainbow Decal
I found this oversized rainbow mural on Amazon- is such a win! It’s so much better than I imagined it would look. It came in 6 large sections- I recommend taking it out of the roll and laying it out flat for a day or 2, it made it much easier to work with. There’s a few different options but I went with the pastel colors for a softer look
Tip: Make sure you leave enough on the bottom, leaving 1″ over the baseboard. Then go back with a wallpaper scraper and box cutter for a clean cut
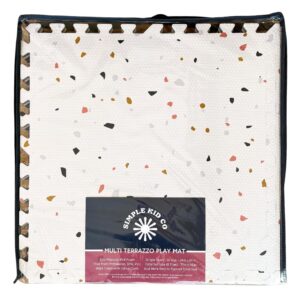
Floor Tiles
In total I ordered 13 packs of these Simple Kid Co play mats from Amazon and cut to size to cover the entire floor. I searched high and low for mats that would work for the space, and these were just the ticket! They’re interlocking and Non-toxic. They also make clean up a breeze.
It was a bit of an investment but in my opinion worth every penny. The white brightened up the space tremendously and gave us a fun terrazzo print without being too overpowering. They’re so much safer than the unfinished concrete floors we had- I can’t say enough good things about these mats so far!
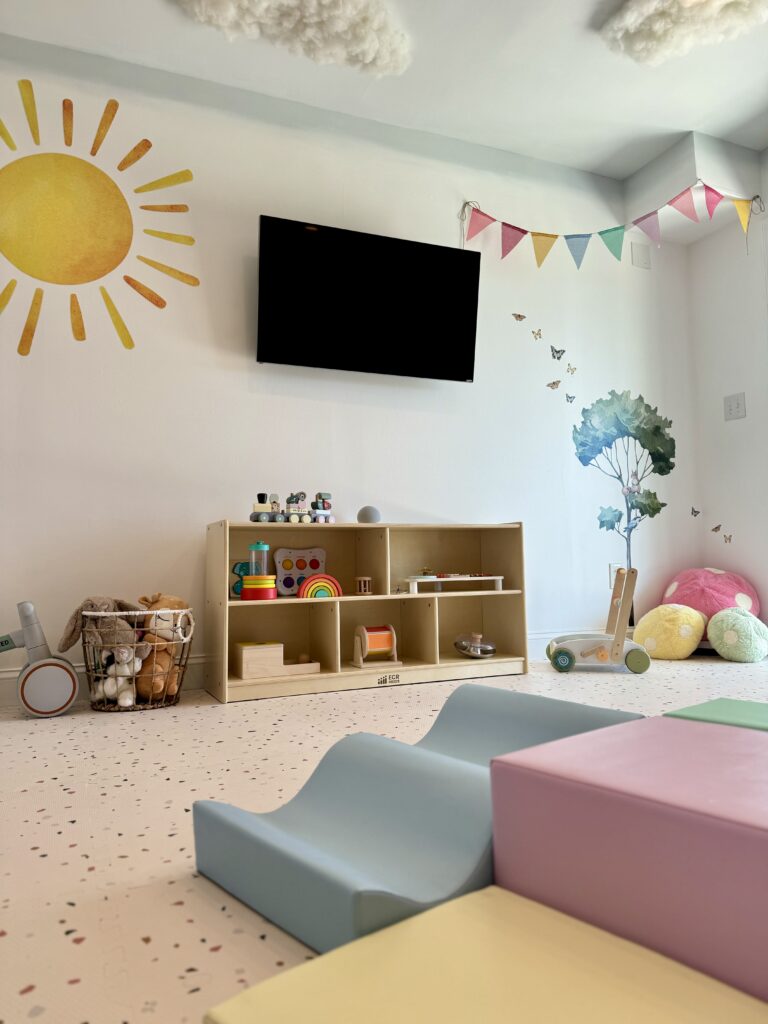
Tip: Hang wall art eye level with your child, so they can enjoy it too. My daughter loves pointing out the butterflies and squirrels, it’s great for learning- we make a game out of it!
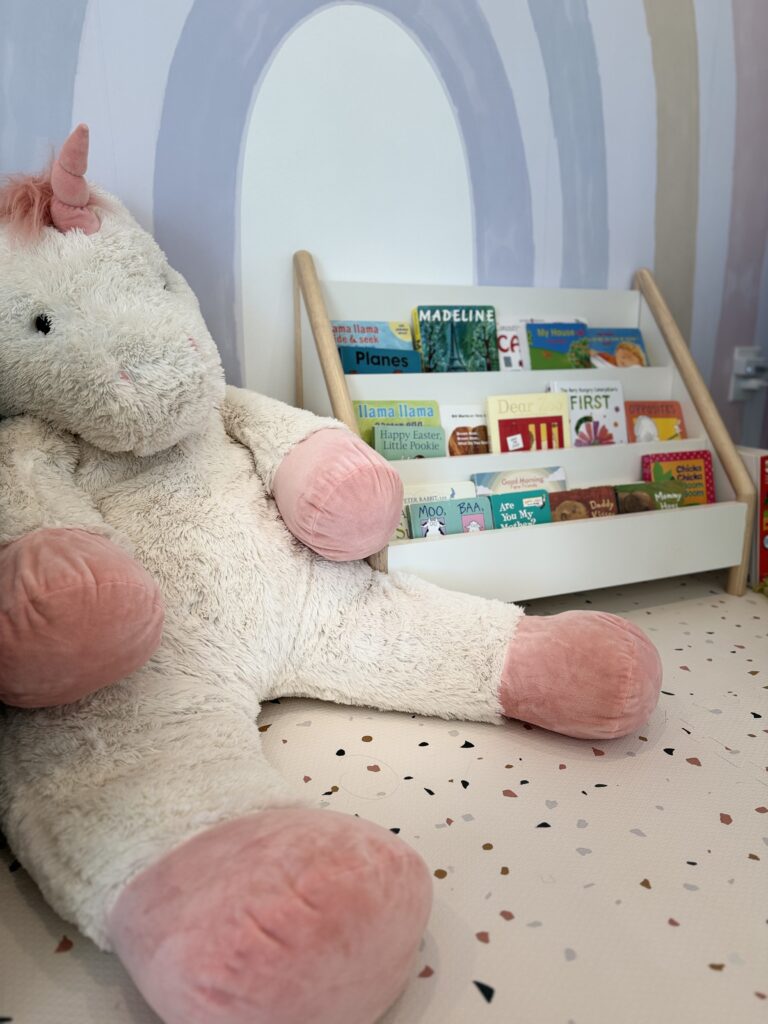
Reading Nook
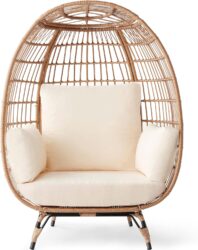
I found this Montessori bookshelf from Pottery Barn Kids that was perfect for her reading nook. All her little books are on display where she can easily access within eye level, complete with a giant unicorn for cuddling up. The oversized egg chair in the corner works perfect with the star lights, it’s pure magic!

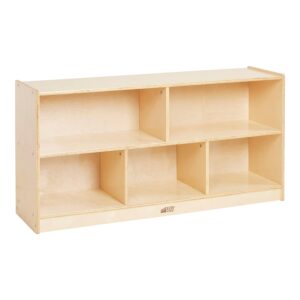
Toy Shelf
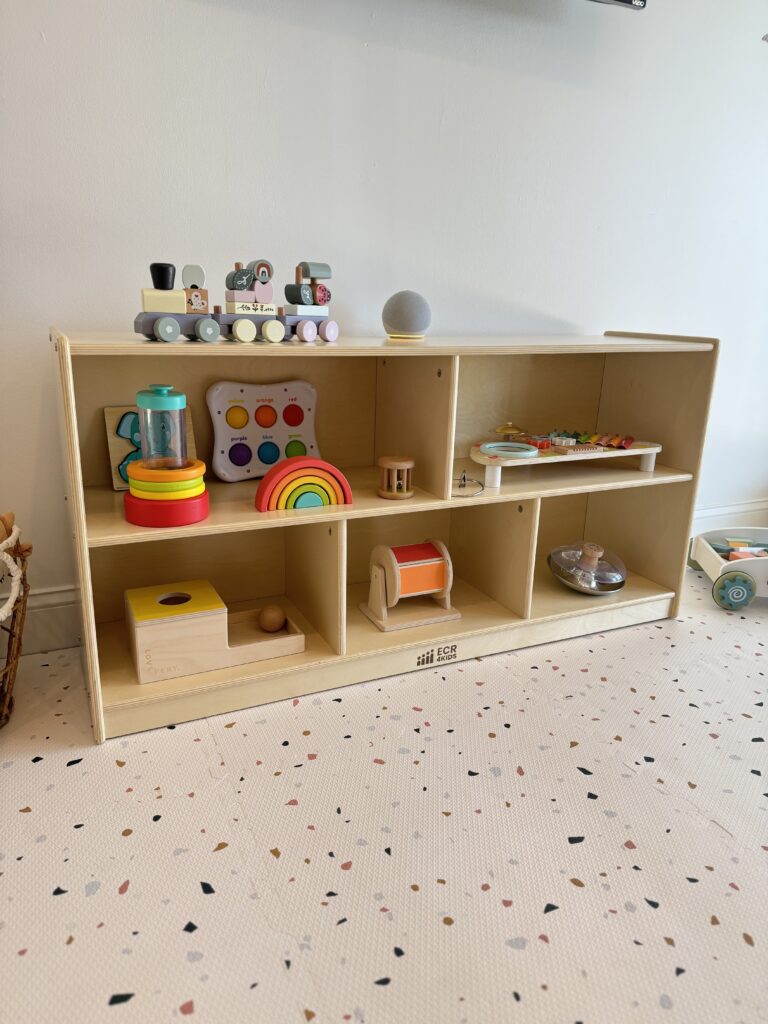
Finding the perfect playroom shelf to display her toys was right up there with top priority. Part of the Montessori method is not having the shelves cluttered with too many items or put away where it’s unreachable. It’s a belief system that as we talked about before “a place for everything and everything in its place”. This prevents over stimulation- having the ability to focus on one thing at a time. It’s great to also implement tidiness and organization. A toy rotation is suggested weekly to keep engagement and prevent kids from becoming bored. I picked up this 5 compartment shelf from Amazon and it worked out great, it also comes on wheels!
At night it’s so much fun! We have a ceiling projector that gives off a moody glow great for sleeping under the stars


GET THE LOOK
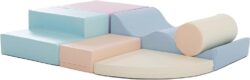
Montessori Foam Blocks

Giant Unicorn

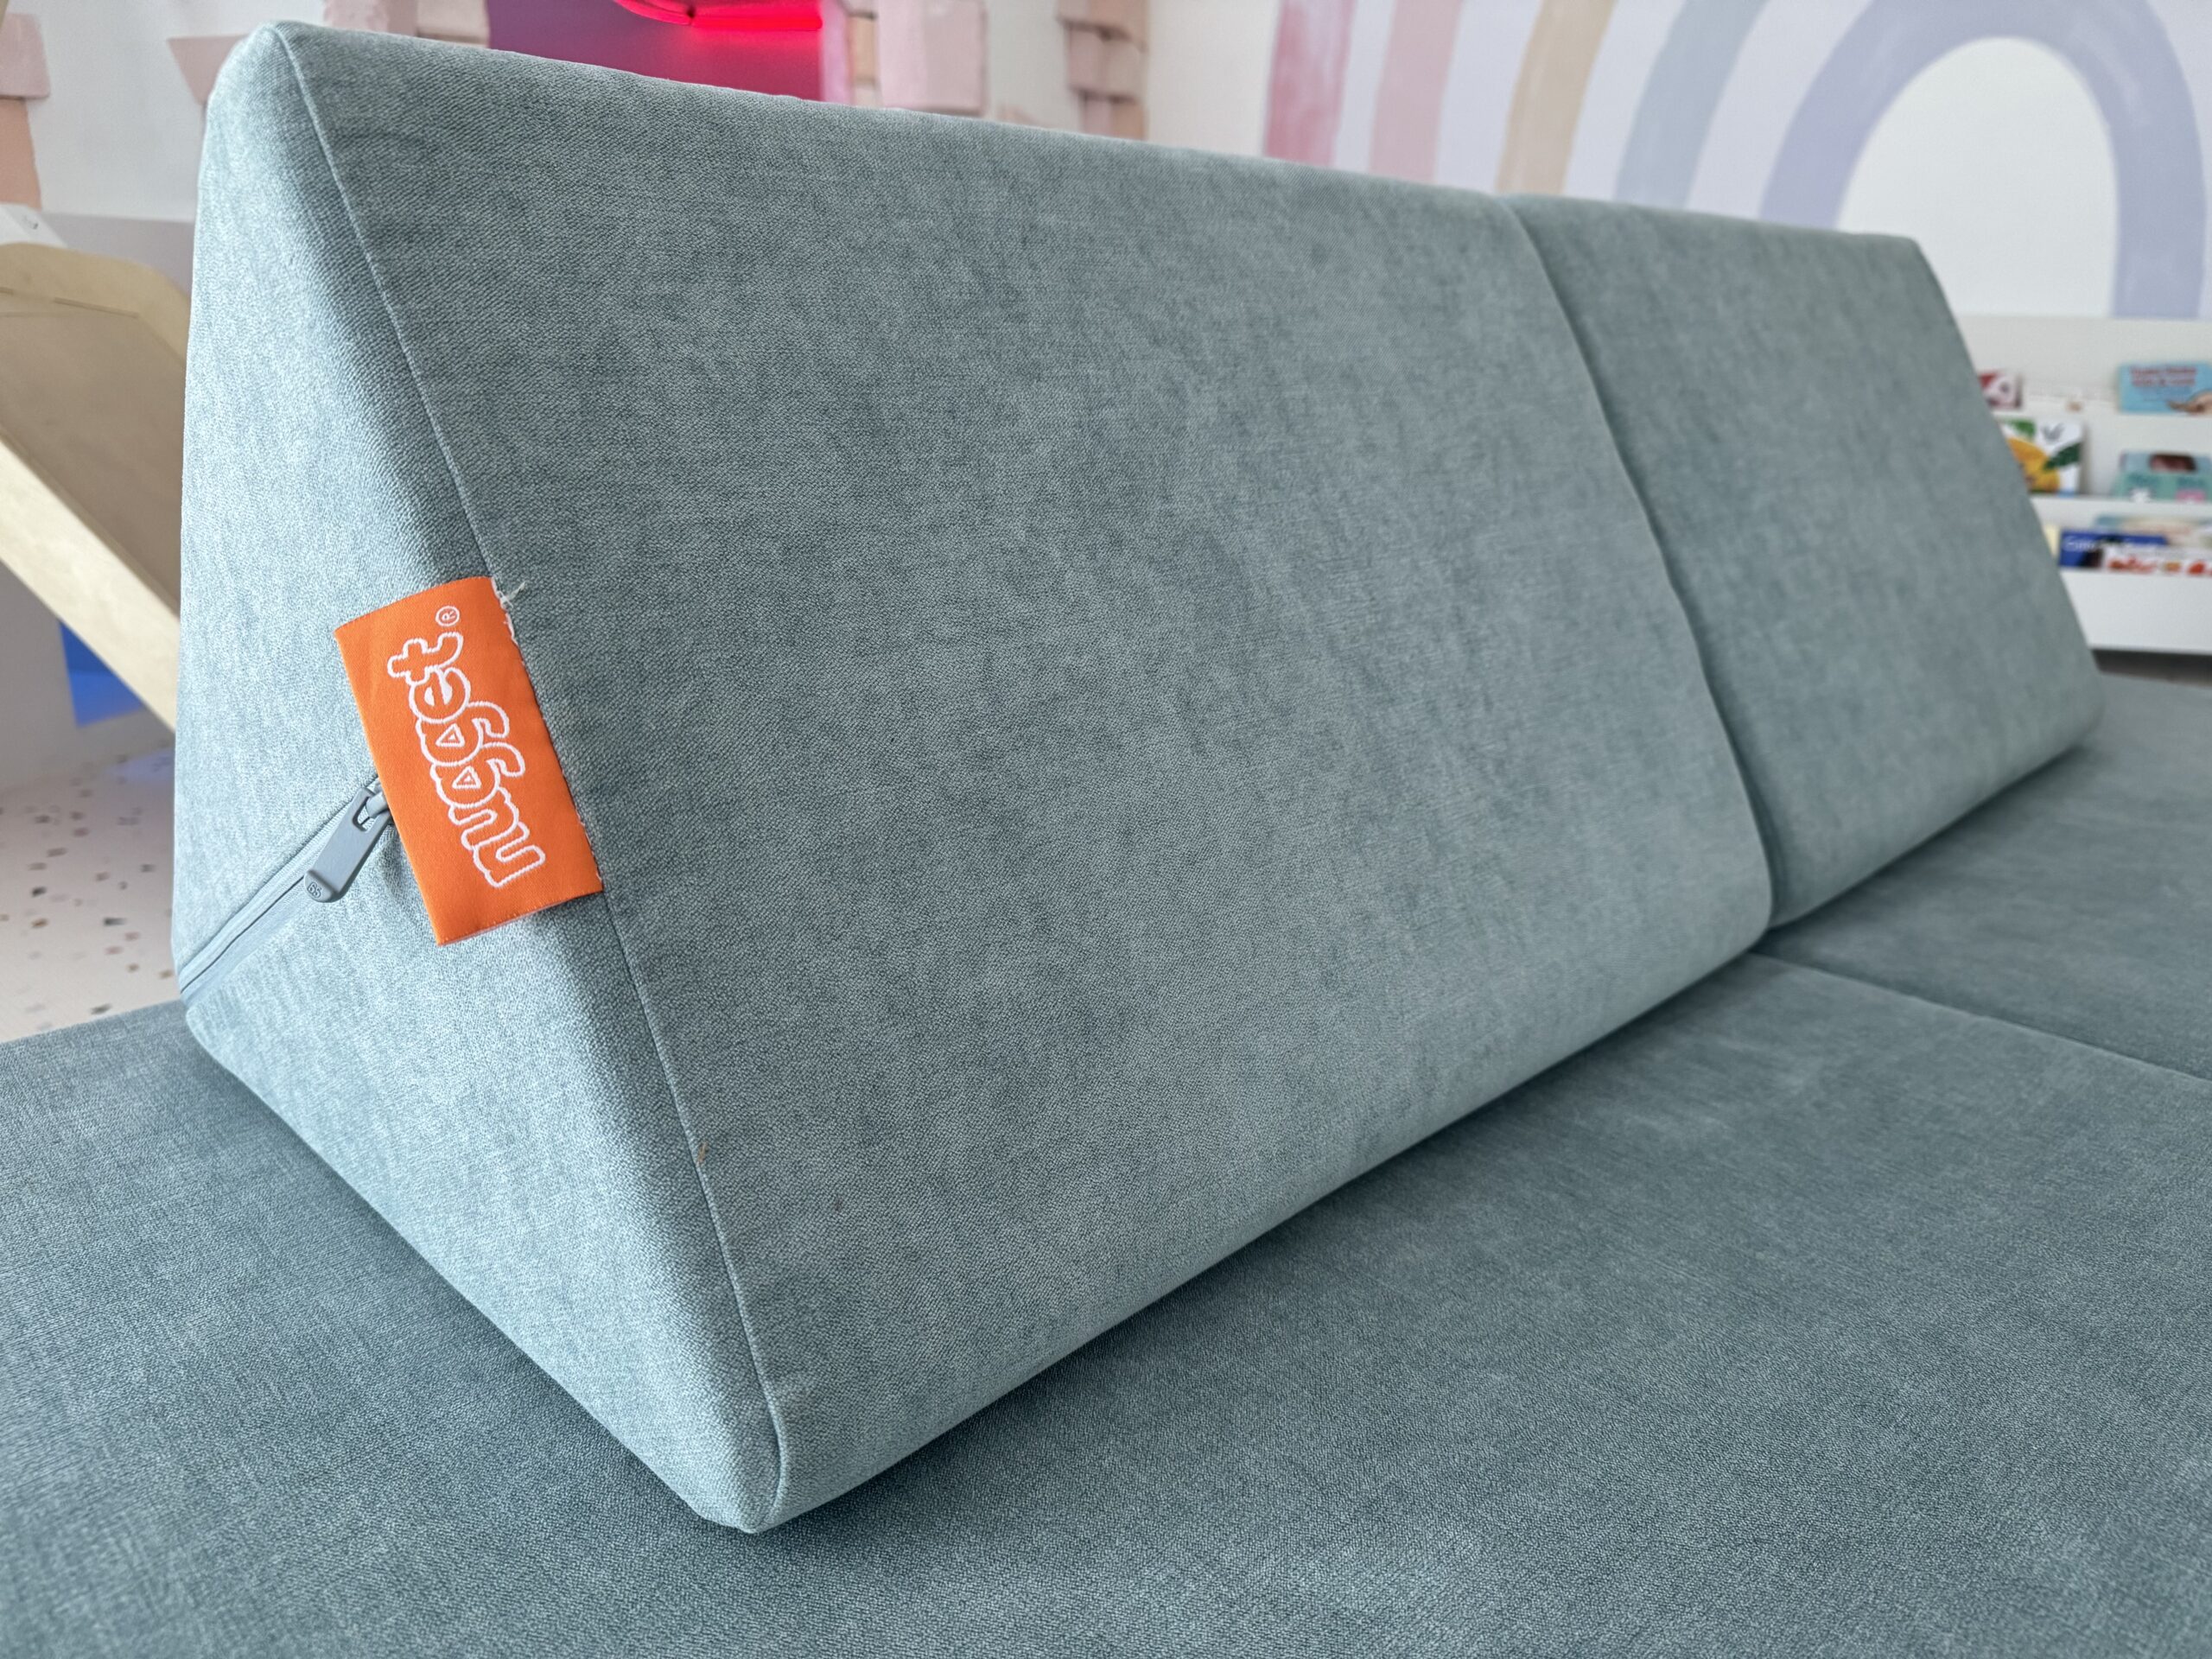
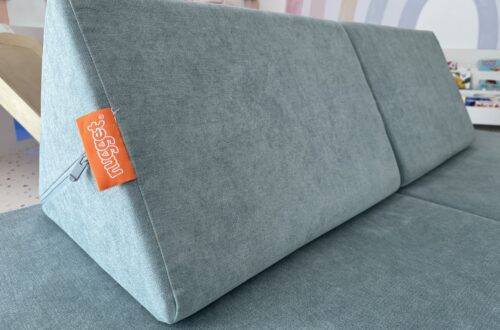
Nugget Play Couch in Surfside

Sun Pillow

Rainbow Burlap Banner
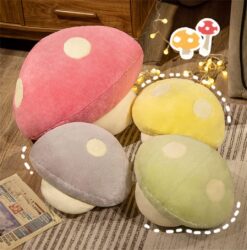
Mushroom Pillows

Kids Area Rug

Sun Wall Decal
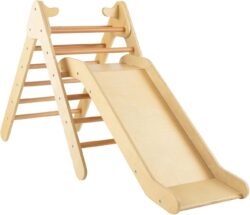
Wooden Climbing Gym
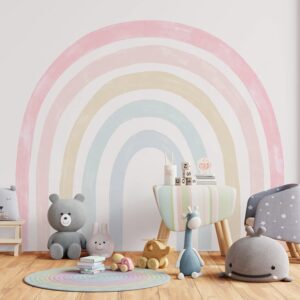
Rainbow Wall Decal
5 Compartment Storage Cabinet
Simple Kid Co. Play Mat