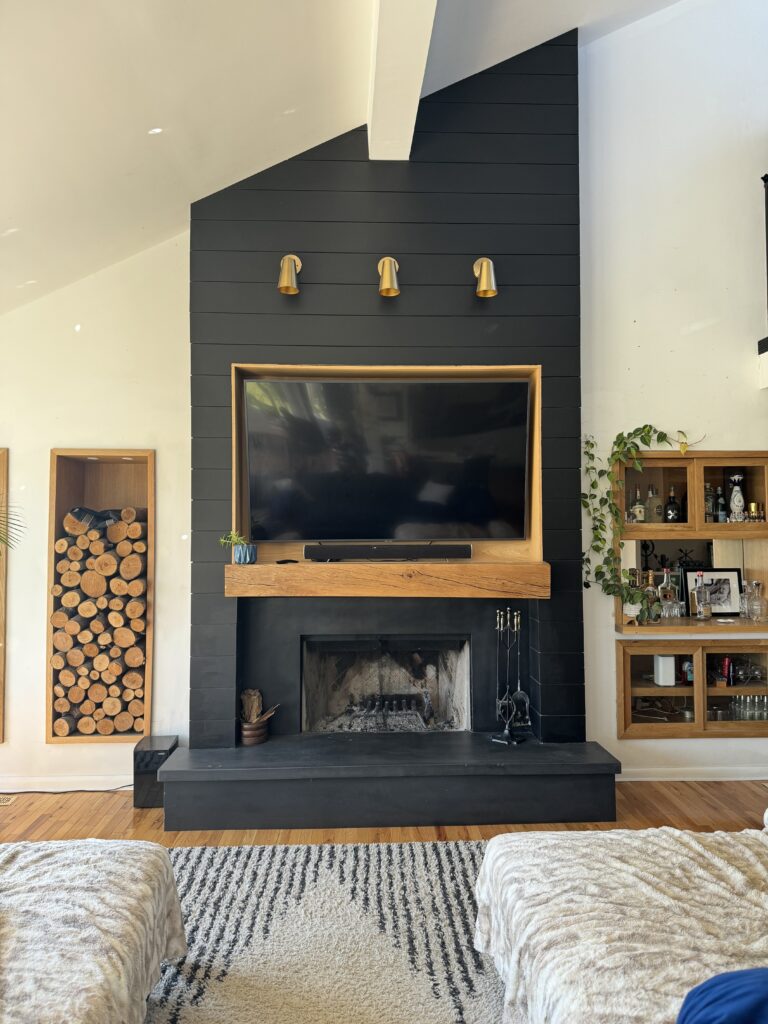
See the before and after on how we turned our dated 1980s fireplace into a modern living room focal point using black shiplap and white oak wood
Back in 2019 when we moved in our house it came with a lot of our “must haves” list, one being a wood burning fireplace. The living room had amazing vaulted ceilings and natural light with big windows overlooking the backyard and deck. It had so much potential! The downside was our dated 80s fireplace that just did nothing for the space. They say the fireplace is the hearth of the home and I could not agree more. Besides adding value, it gives your home a warm and cozy feeling great for entertaining friends and family. I can’t wait to show you the process!
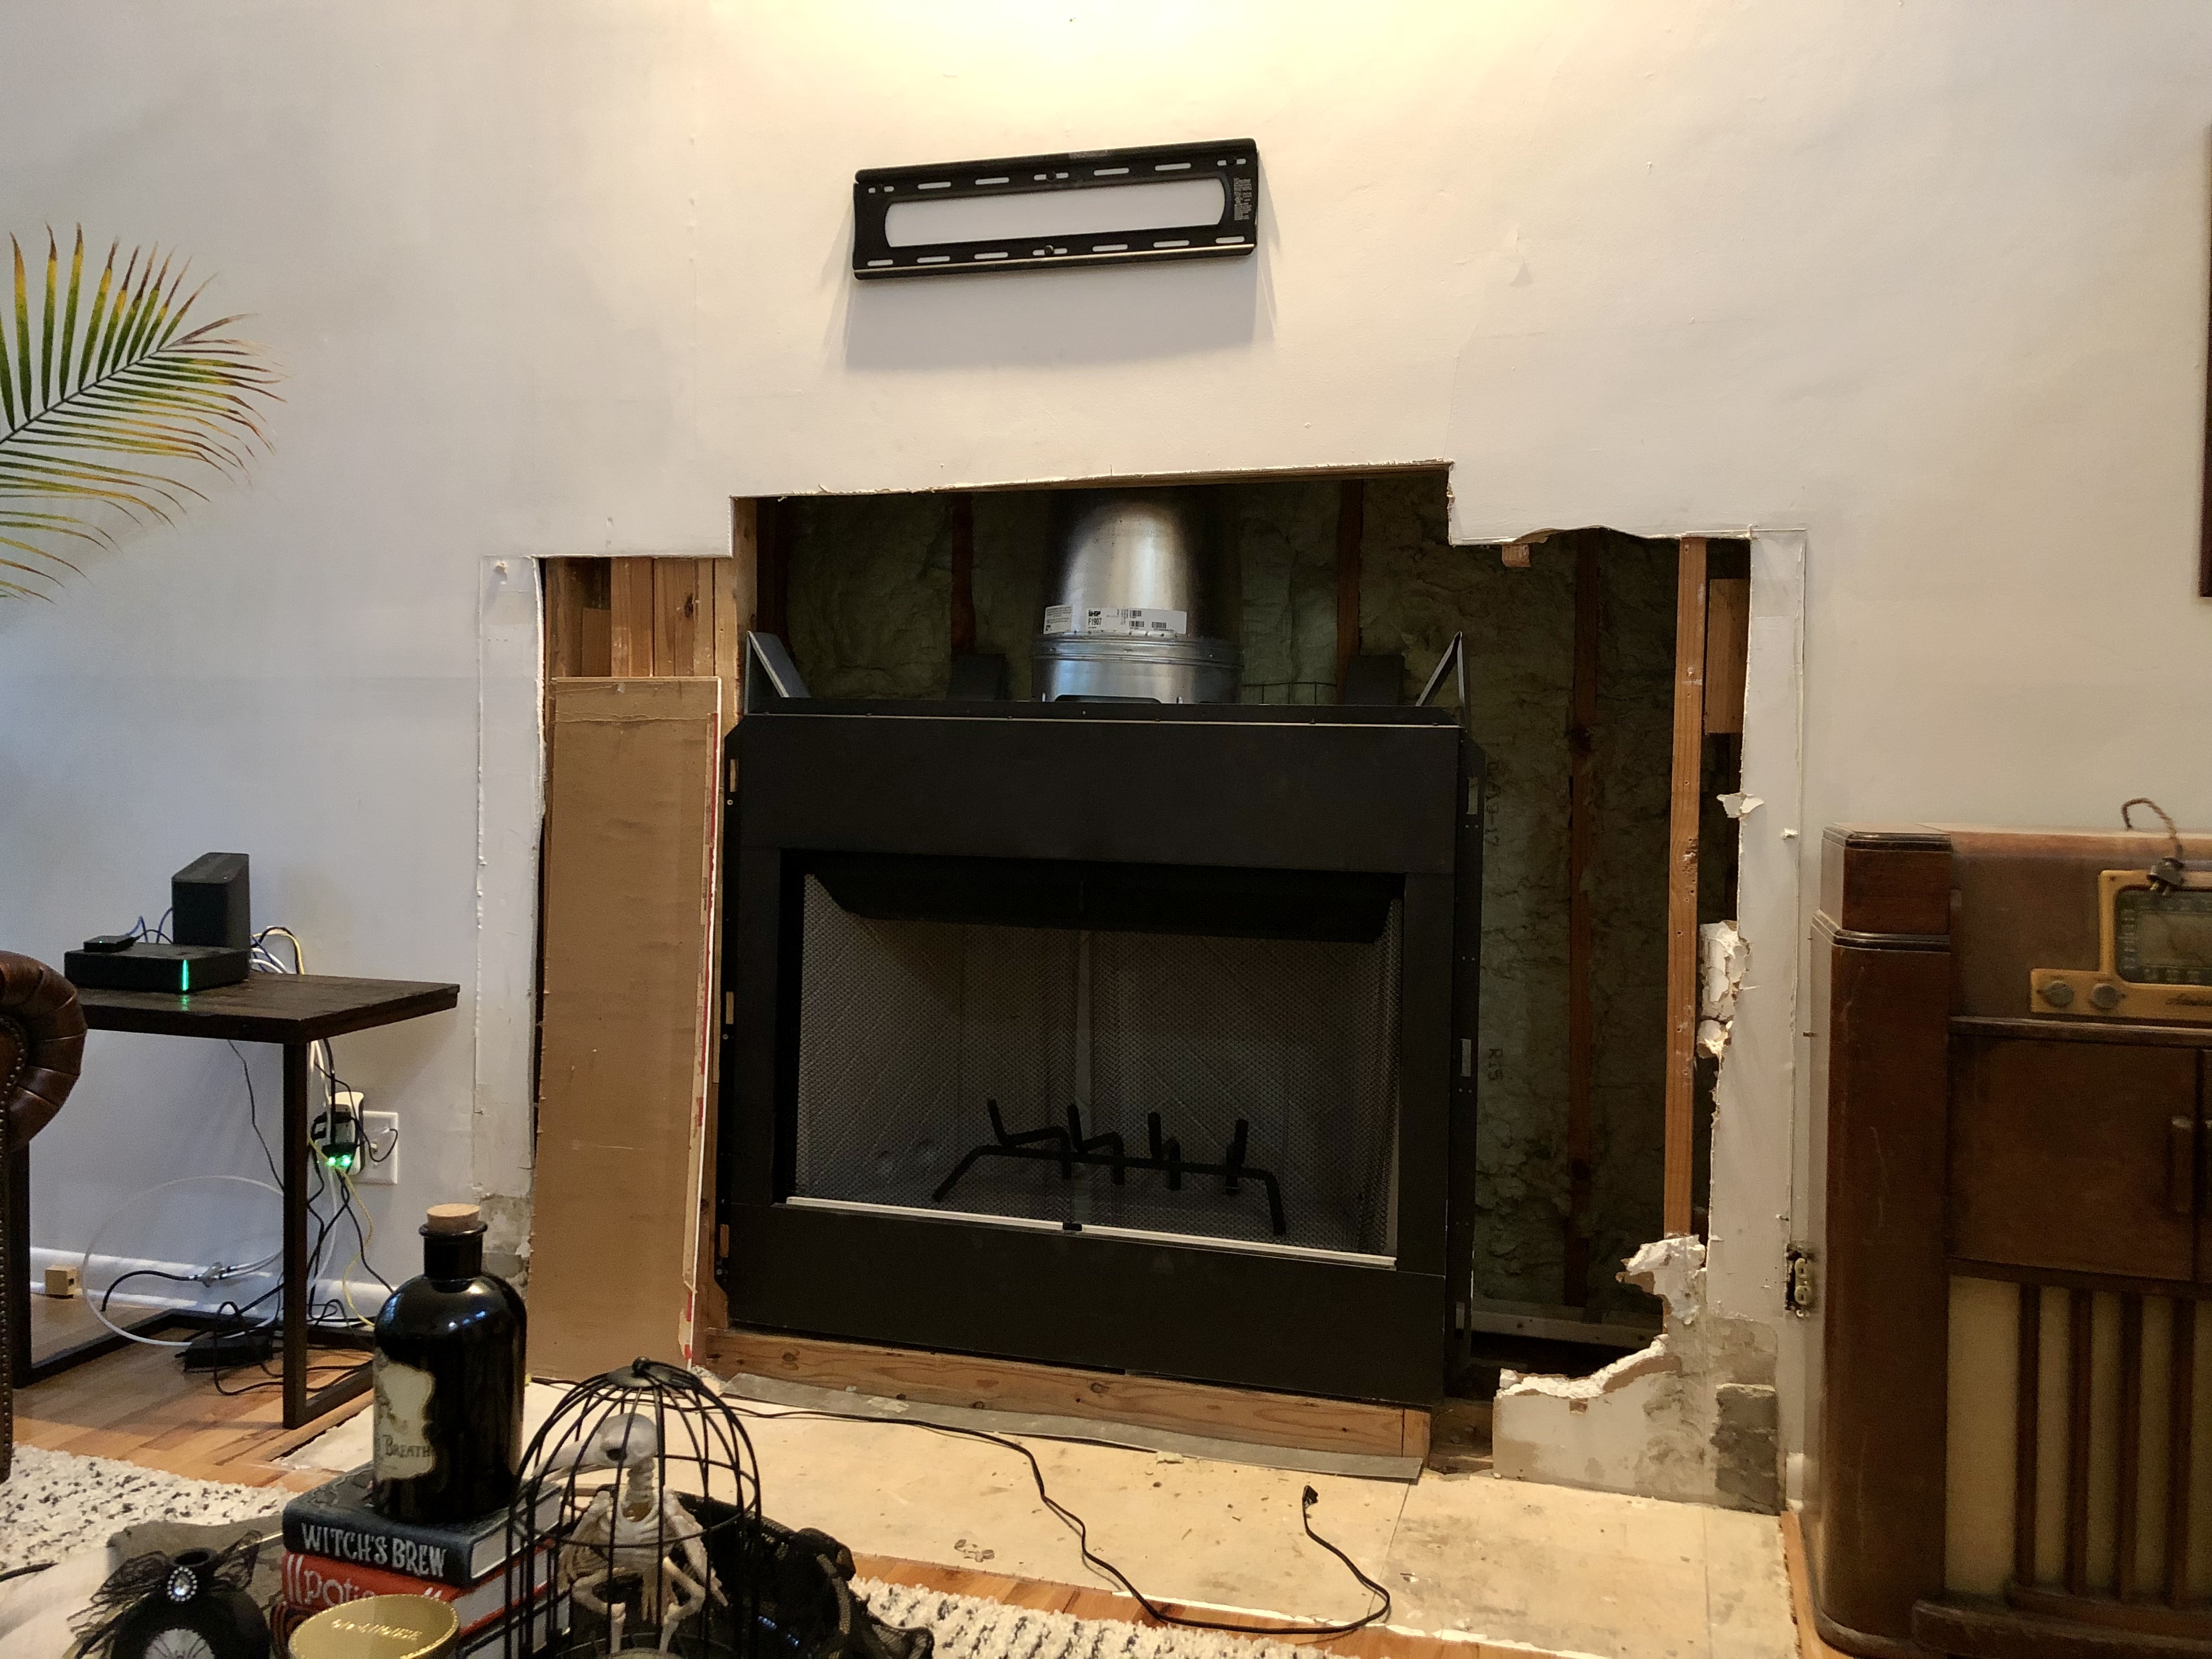
Before
Here’s a few pictures of the original fireplace. It had a faux green marble and brassy gold detail with a glossy white finish. It really wasn’t our style, so this became our first big renovation when we moved in. Along with the fireplace makeover we added a wet bar, decorative shelving and an area for exposed wood (more on that later)


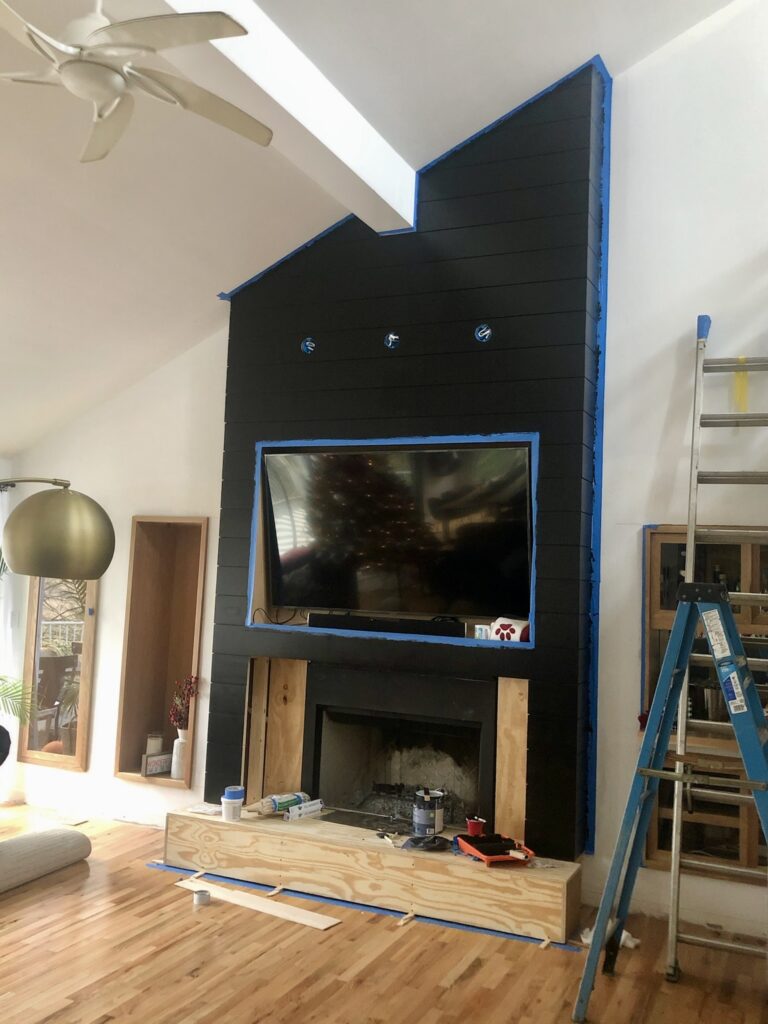
Why Black Shiplap?
Traditionally shiplap started as a more rustic farmhouse looks with a white finish (thank you Joanna Gaines). Since then it’s transformed to compliment any aesthetic, ranging in colors and widths. We chose to go with oak shiplap mostly for the beautiful texture and warmth it adds. Shiplap is also a more affordable material than a concrete slab or stone fireplace. We decided to paint it black to add depth to the living room and give a modern, moody feel. Black is such a statement next to the white walls and makes our open concept kitchen and living area so cozy and inviting.
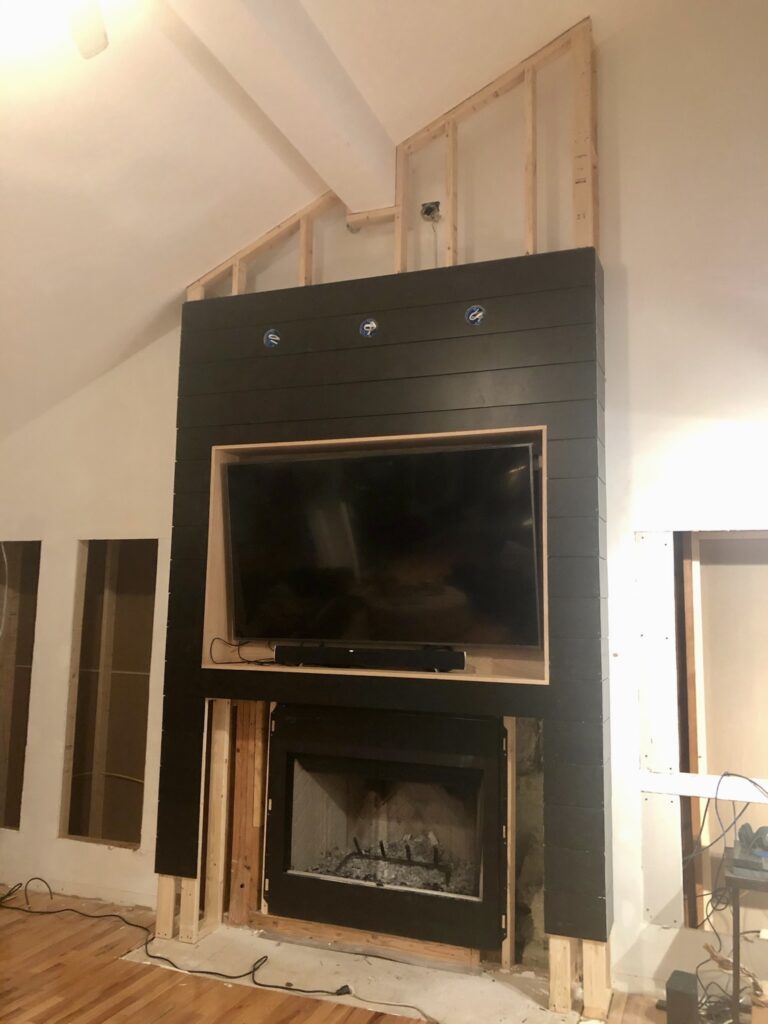
The Plan
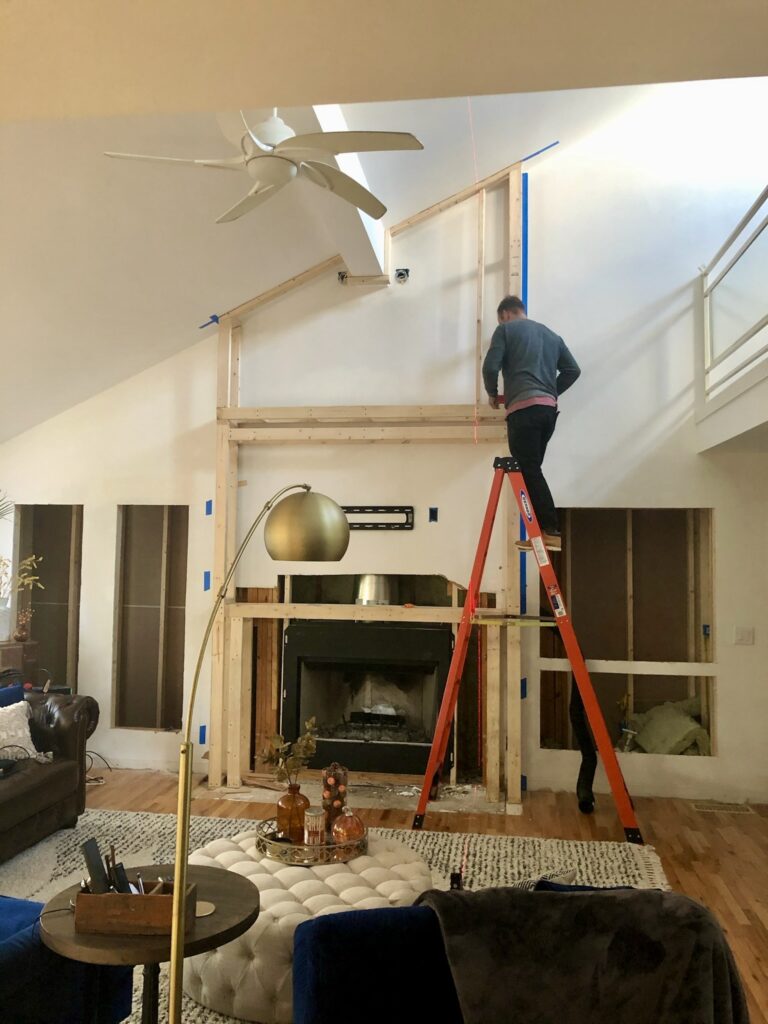
After some back and fourth and a few added additions, this was the final plan for the fireplace design. We decided to drag the shiplap up to the ceiling to create a more dramatic look and compliment the vault ceilings.

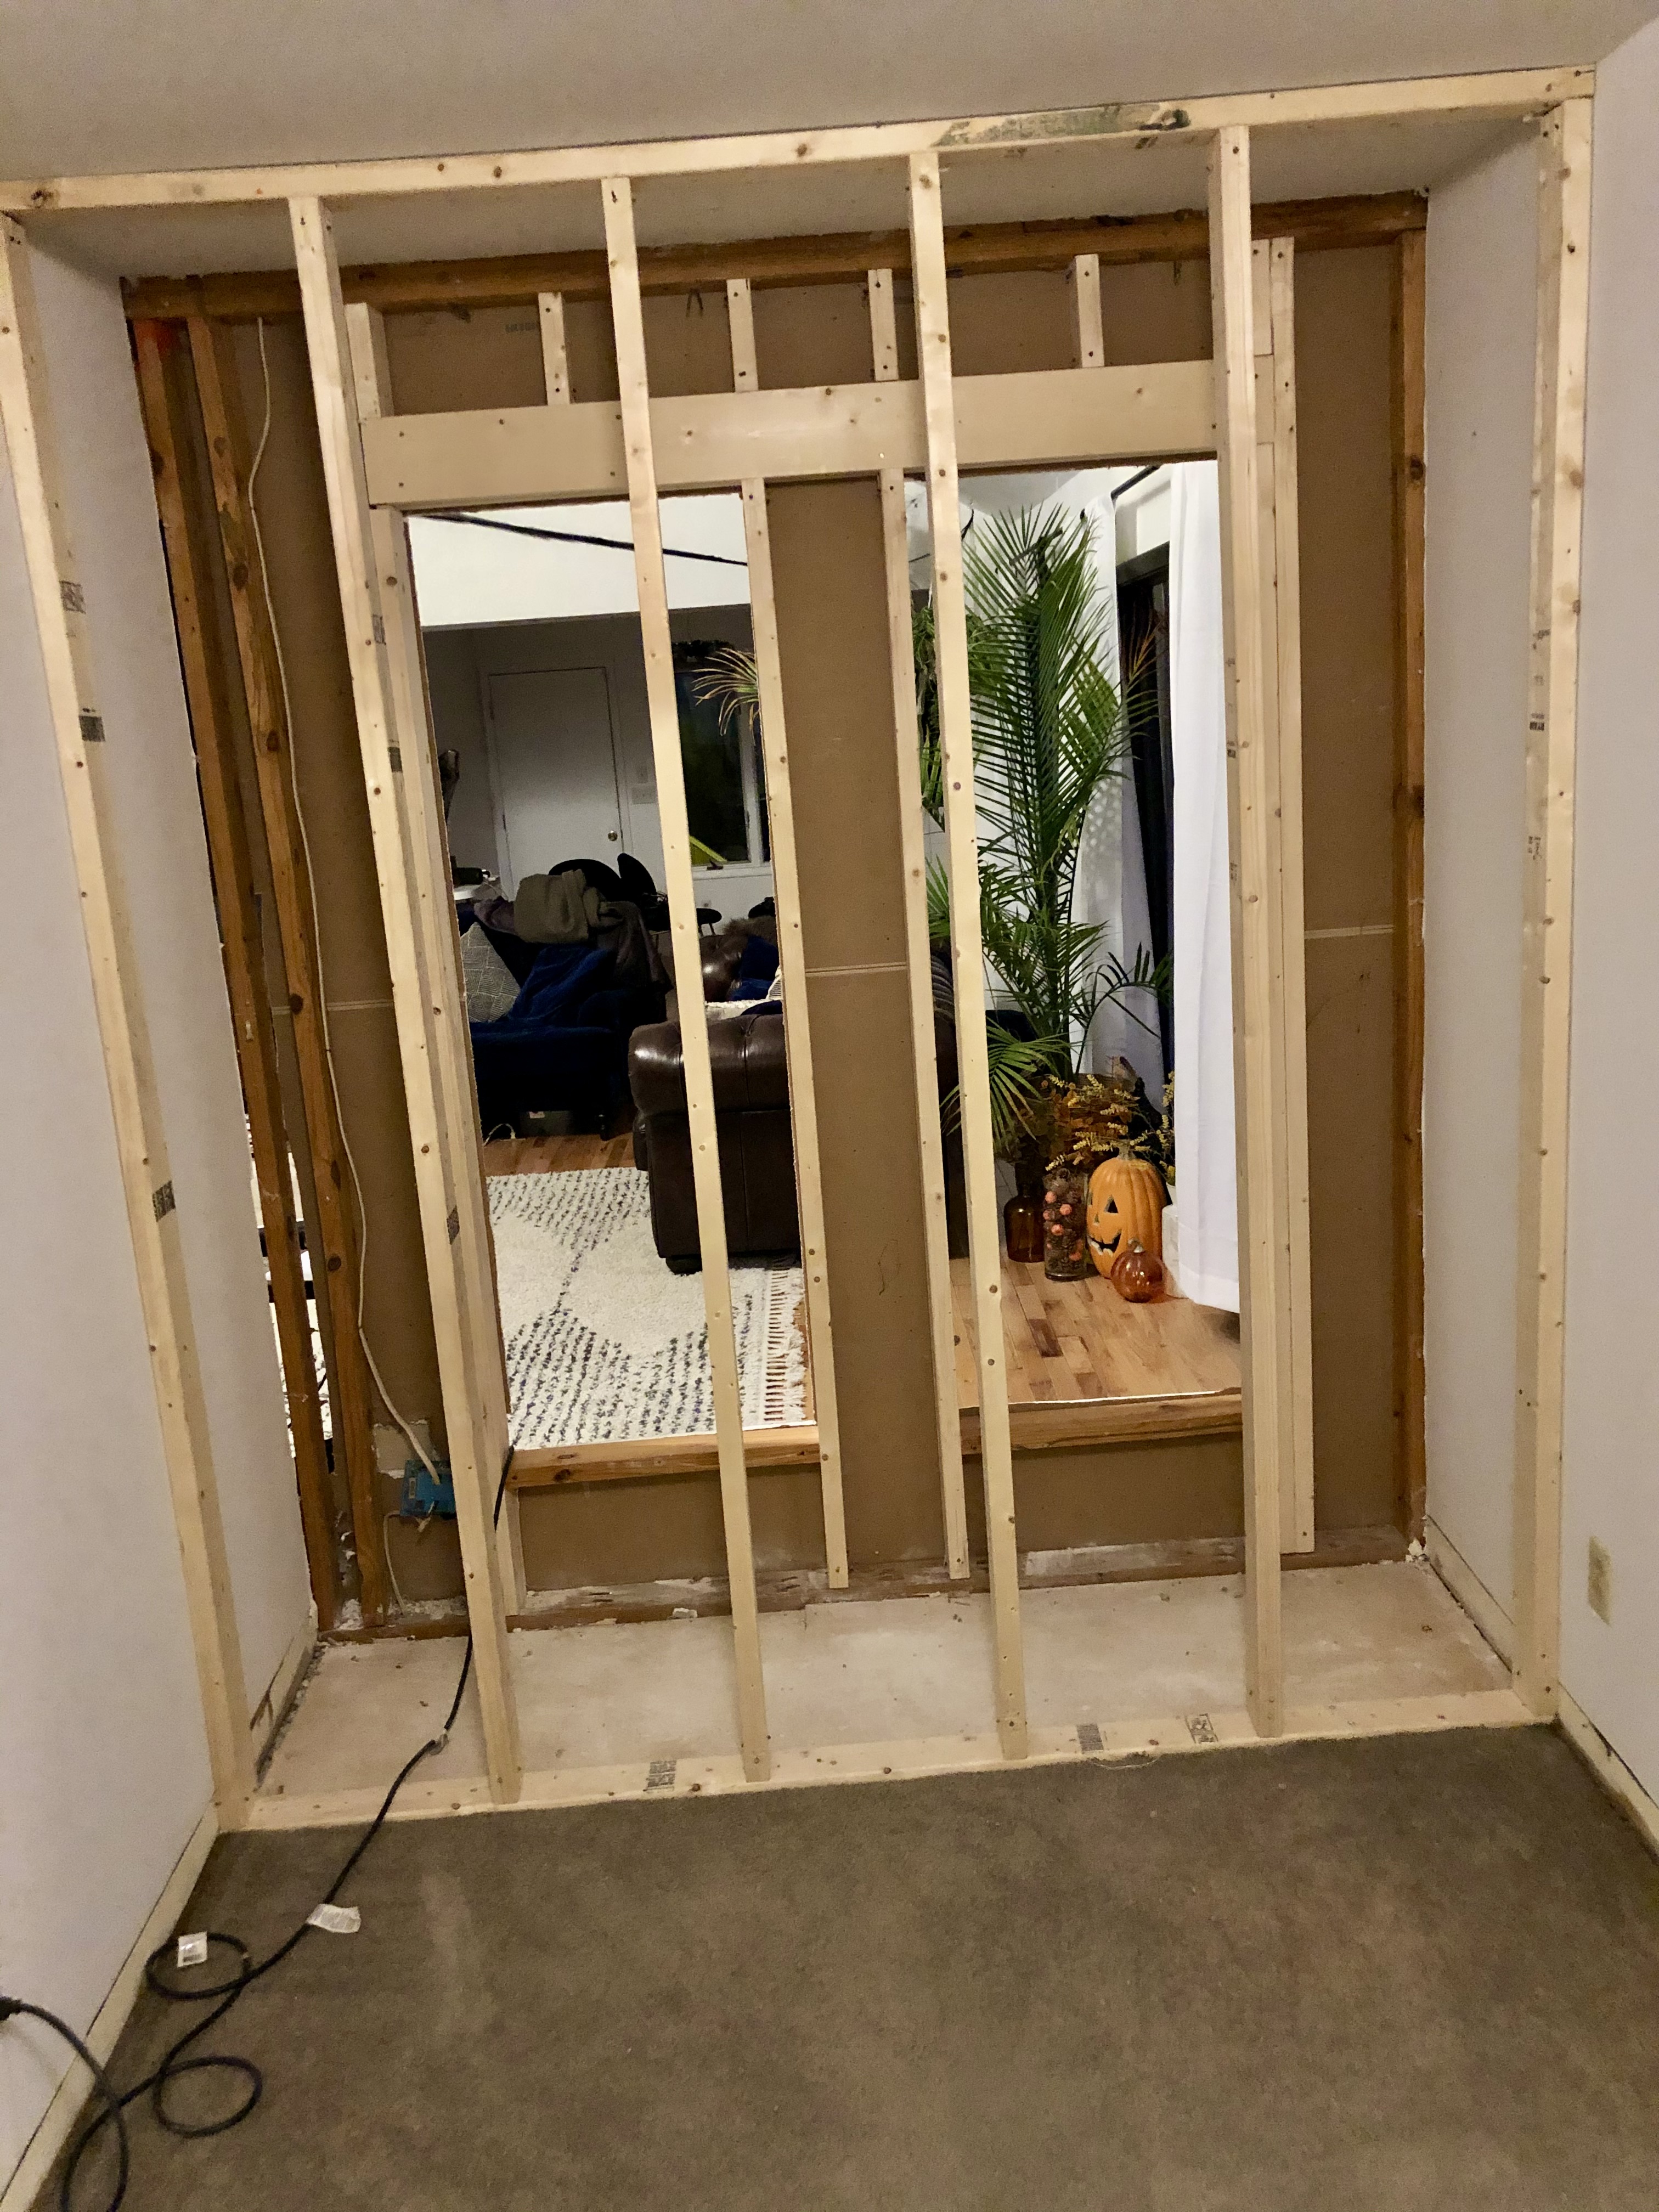
Built ins: To the right of the fireplace will be a wet bar, with storage bellow for cable wires and Internet boxes. On the left side we will have an open shelf for exposed wood, as well as a built in bookshelf with a glass door to protect with dust.

The Demo

After demoing the mantel we found brick under all that faux marble, who knew! Once we opened up the fireplace we realized we needed to buy an entirely new fireplace hearth. It was not in the original budget, but it was 40 years old and it was a fire hazard, so it had to be done. We decided to go with white to add a little more contrast with the overall black exterior

Framing and Built Ins
Time for the framing! Using 2x4s our GC started making the structure to apply the shiplap too. We also had the drywall cut out to make room for the custom built ins. To save square footage in the living room, we used some space from the master bedroom located behind the fireplace wall. This gave us the built ins for the wet bar and wood storage!
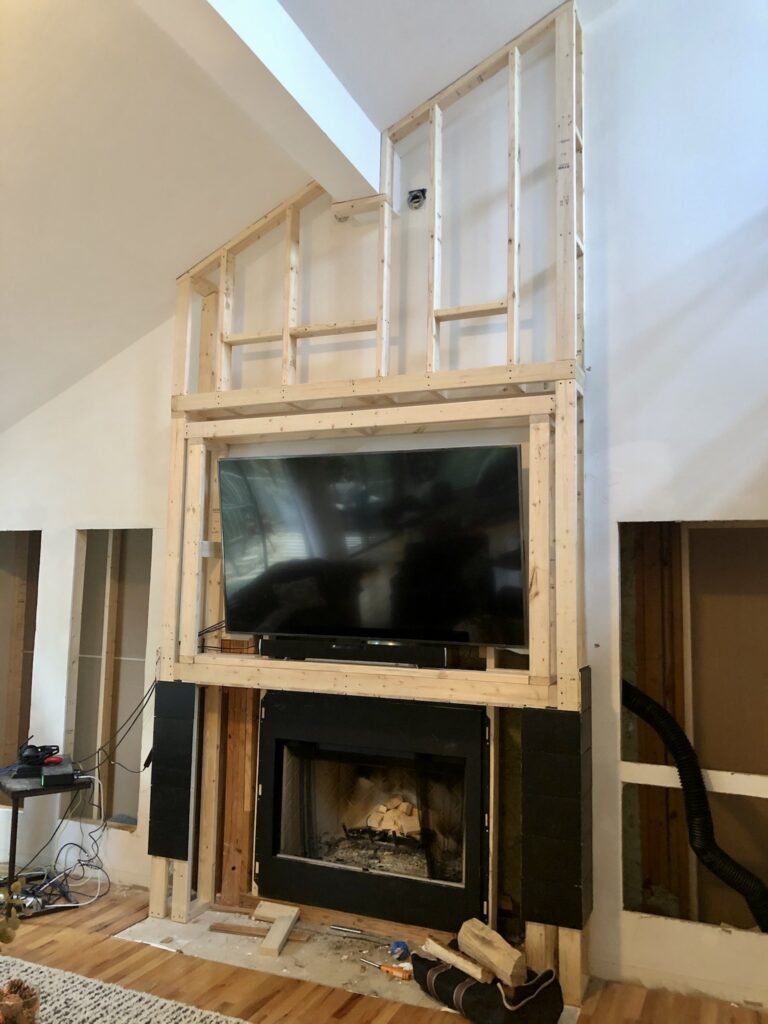
Pro Tip: Paint the shiplap BEFORE you nail to the 2x4s. It’s much easier to get all the nooks and crannies in between the boards, especially when working with a dark color!
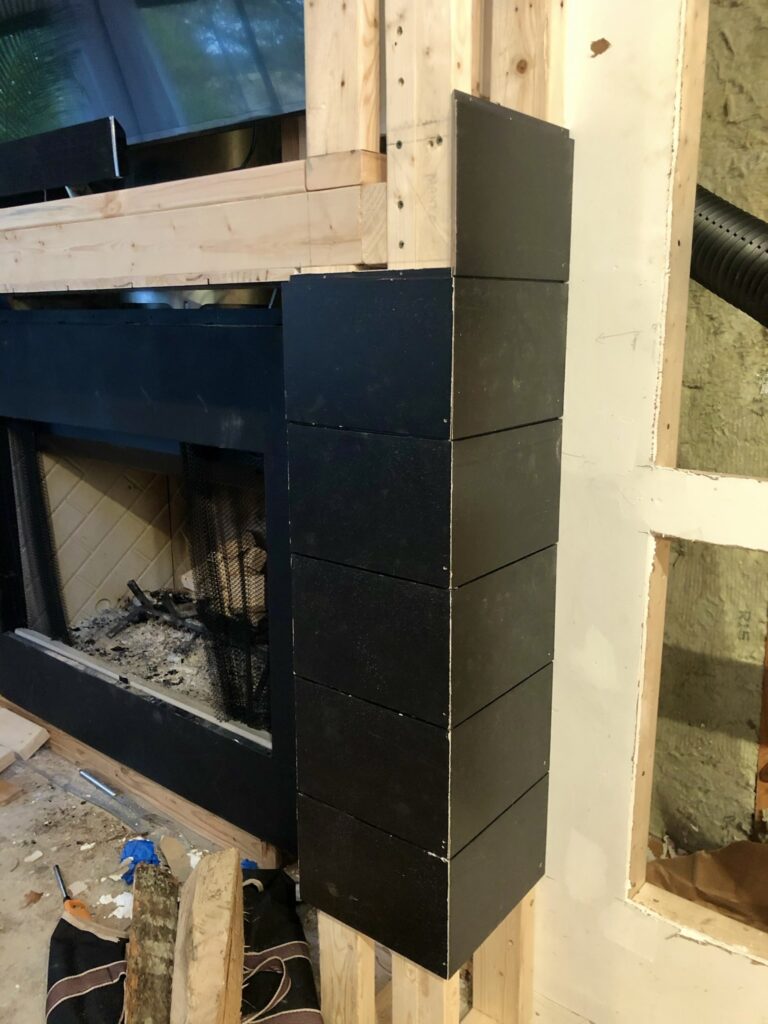
Built ins are going in and the bench is framed and ready! We went with custom concrete for a sleek, modern look. Below are a few samples we went through
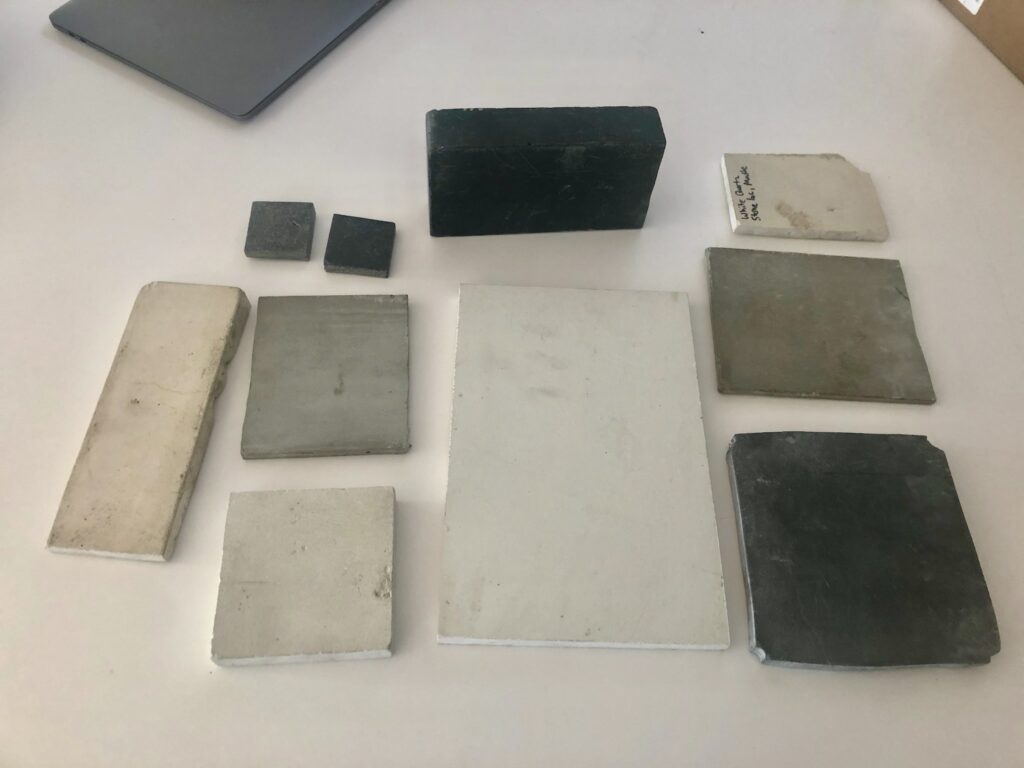
Concrete samples were so hard to choose, but the overall winner was the black. Black on Black for the win!
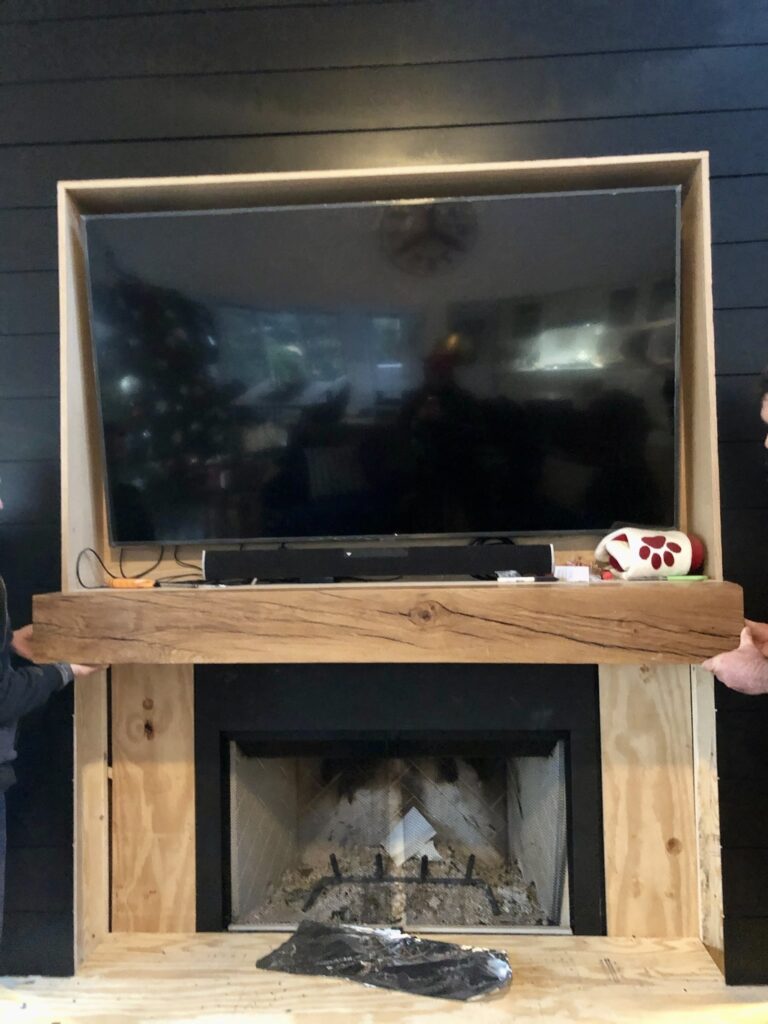
Mantle
We were lucky enough to find the most perfect white oak mantle from a local lumber yard here in TN. It was the first thing I saw when I walked into their showroom. It was the perfect length, finished and ready to go. She’s so pretty!
I’m so thrilled how this project came out! Big thank you to our GC Mike Jones for the unbelievable custom craftsmanship. Overall it took a little under 6 months to complete from start to finish. If you’re on the fence on having a black fireplace just do it! We get so many compliments on it, it’s the best investment we’ve made so far. You won’t regret it!